Like many kids born in the USSR, my sister Polina and I loved our toy kaleidoscopes we had growing up. To our surprise, they were never as popular in the U.S., although there is now a growing interest among the aficionados.
After much searching, Polina was able to get herself this artisan kaleidoscope. That thing is really tiny and the stained glass beads are fused to two wheels – meaning the patterns repeat themselves; it’s not an infinite set of combinations which could never be repeated that was part of the charm of the `scopes Polina and I had grown up with: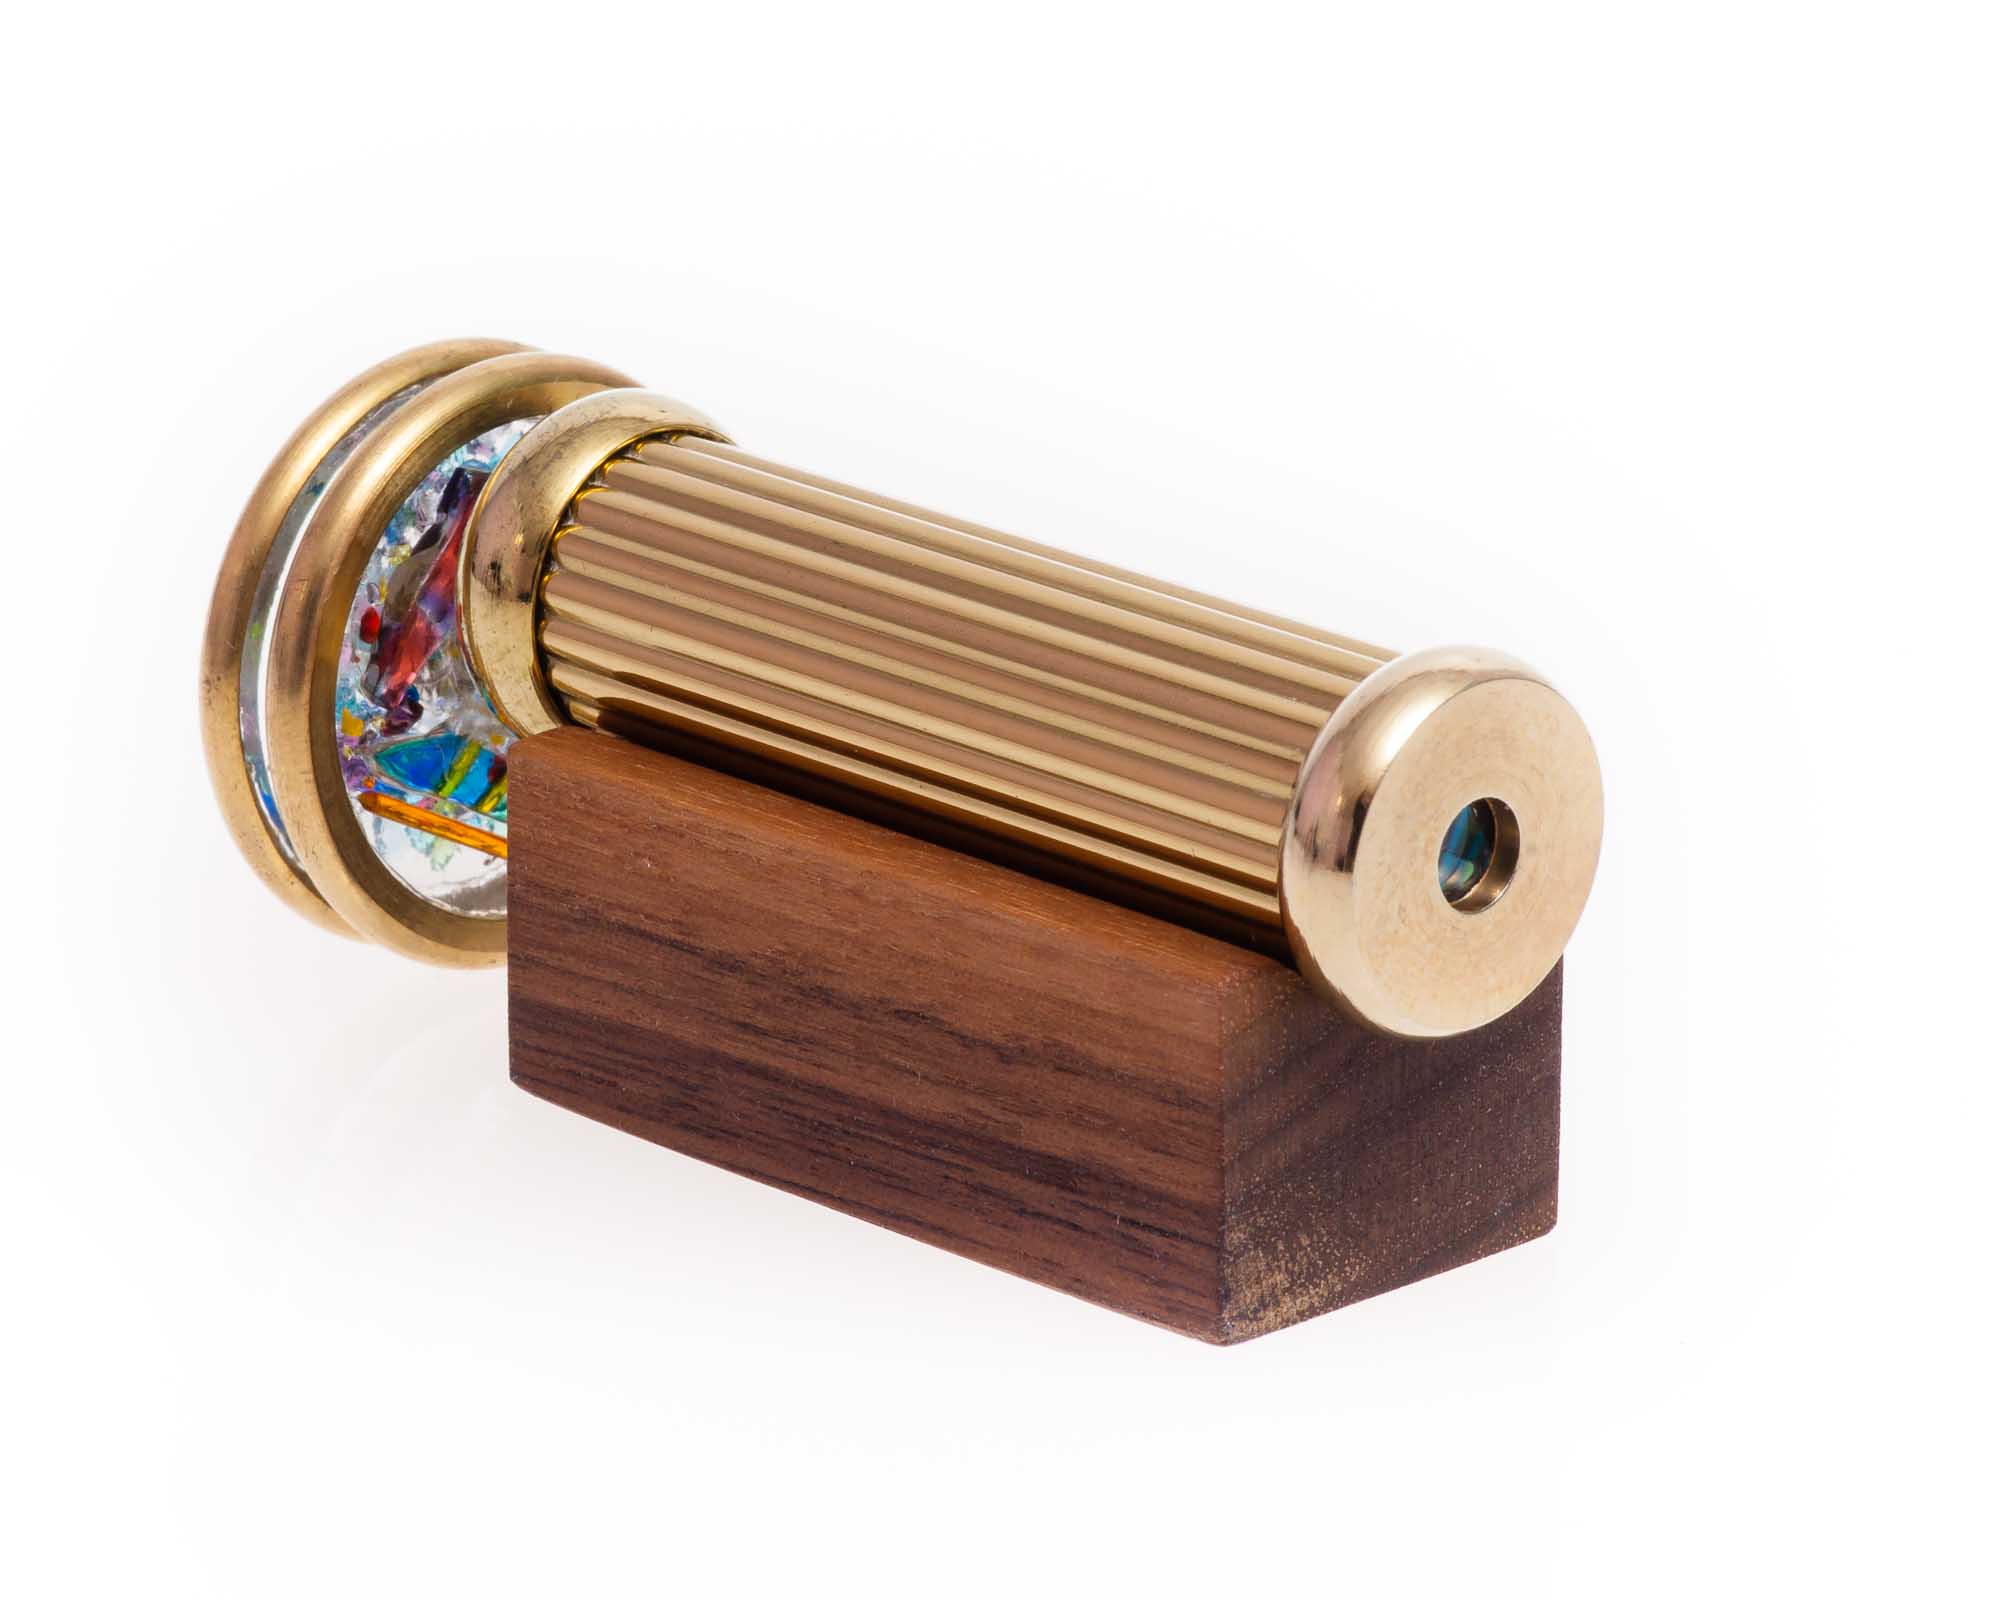
I got this kaleidoscope on eBay. Its shape and size are similar to the Russian ones. It is made by Corning, a high end glass manufacturer. To my surprise and dismay, it turned out to be far inferior to the Soviet toy kaleidoscopes. Instead of the silvered glass mirrors (yes, as a kid, I took my toy `scope apart – obviously) there was a folded sheet of sort-of-polished metal, and the pieces of colored glass were painted on one side (with the paint flaking off) instead of being real stained glass.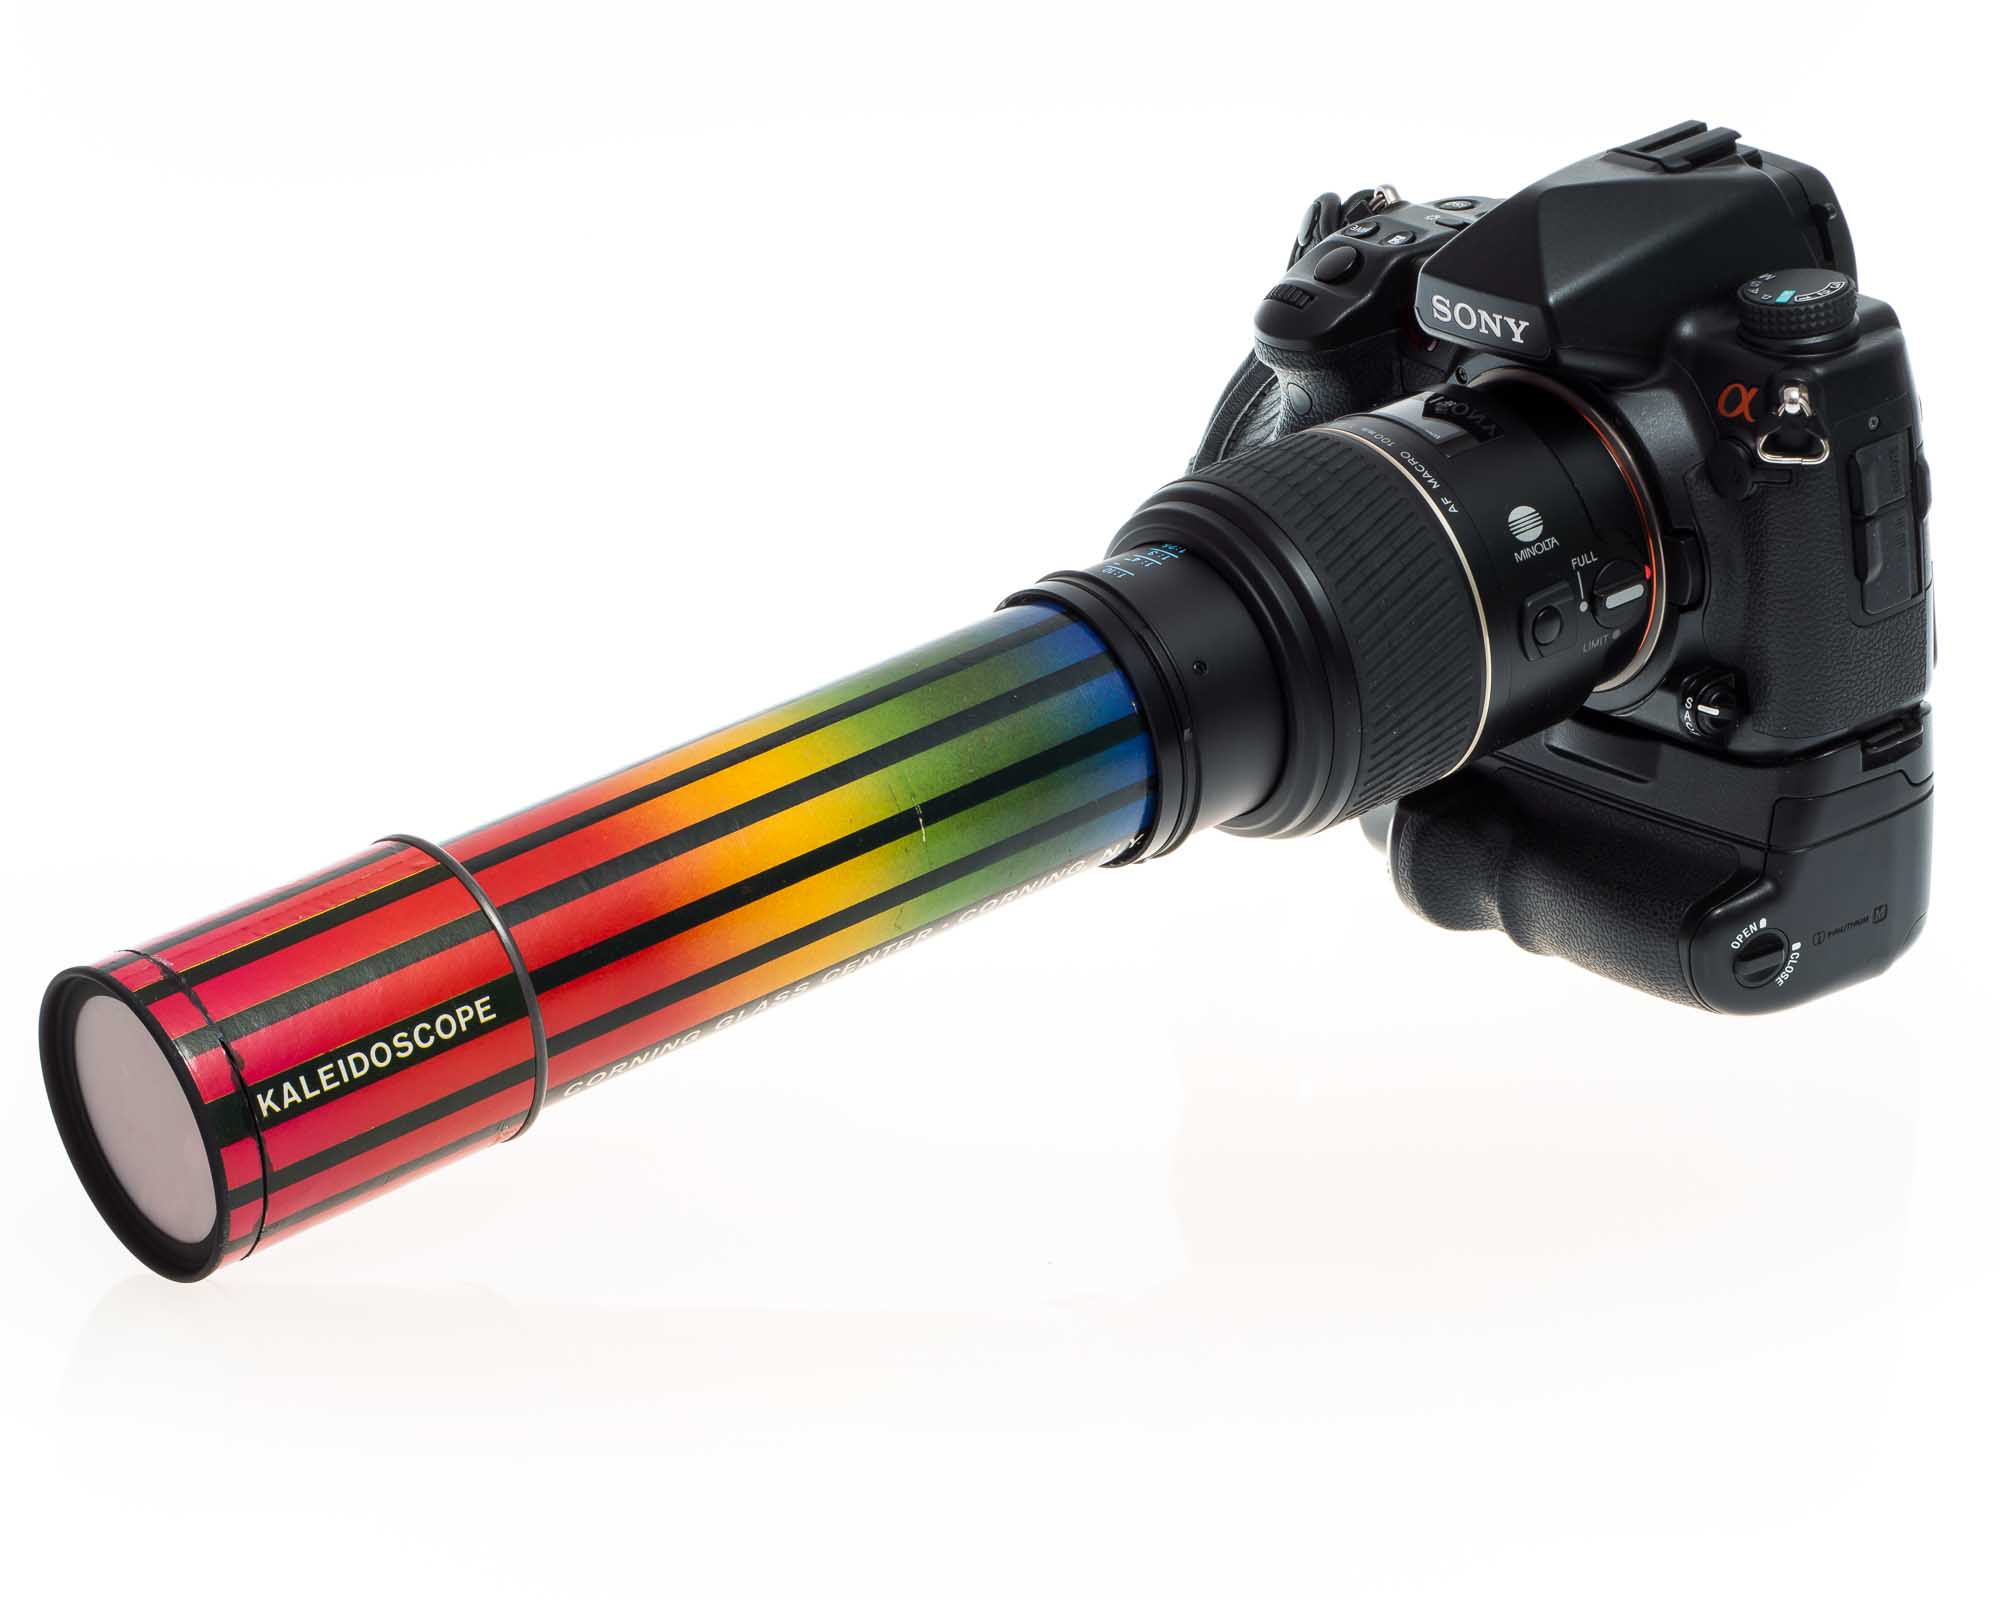
On the internet I’ve found out that indeed, Russian and Italian kaleidoscopes are among the best. Well, I’m Russian, so I decided to make a proper kaleidoscope for my sister’s birthday.
Opulence… I haz it!
Have you ever heard of a kaleidoscope that had not mere stained glass, but actual gemstones? Neither have I, so I was going to make one.
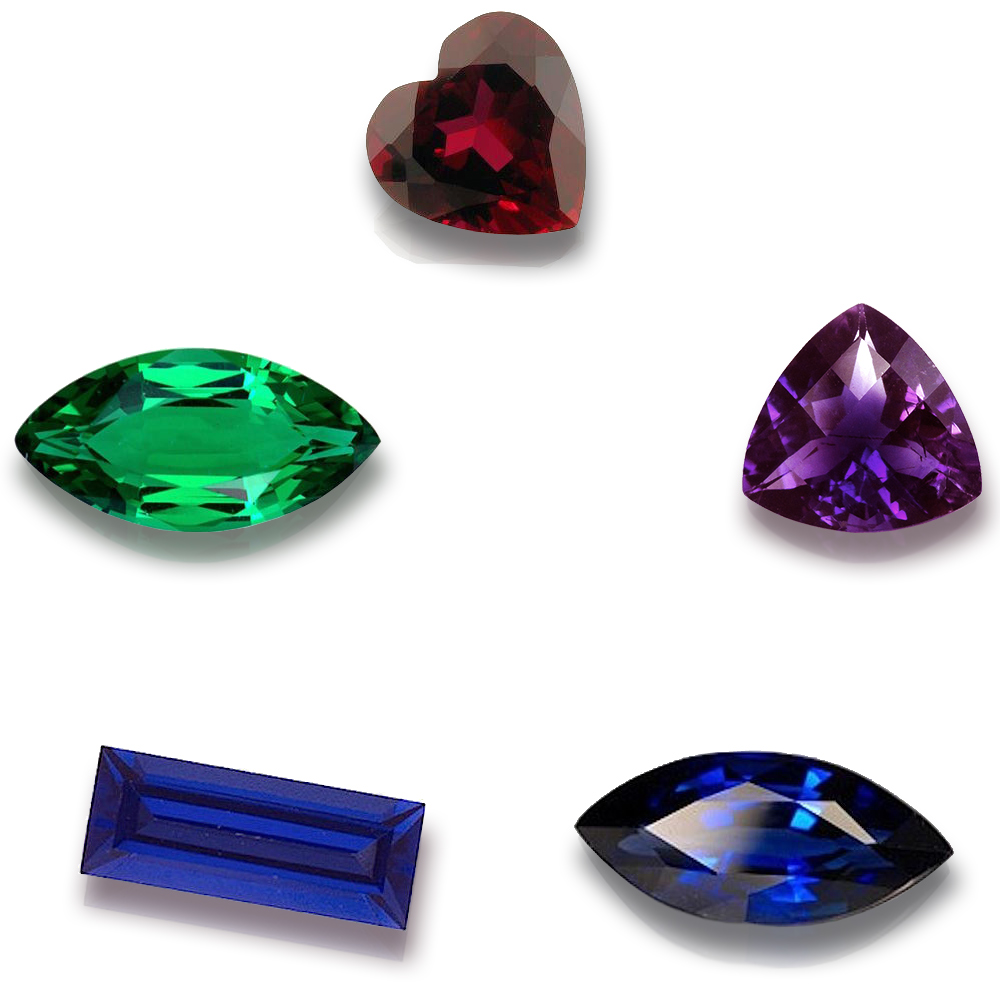
Clockwise from the top, I got the following stones for the kaleidoscope:
- Ruby, heart cut (2 sizes)
- Amethyst, trillion cut
- Sapphire, marquise cut (2 sizes)
- Sapphire, baguette cut
- Emerald, marquise cut
The main optical component is the glass prism (or three narrow mirrors arranged in the same way). I wanted to make a full-size kaleidoscope, so the prism had to be a monster size. When it arrived, I was dismayed that its two triangular faces were matte. You wouldn’t be able to see any gemstones through them.
I was out of time and budget to order a different prism from China, and a crystal restoration shop wanted $120 per face to polish the two faces. Fortunately, I had polishing disks in Poconos.
The problem with hand-polishing is the surface wants to take on a rounded shape – it is actually pretty hard to keep it flat.
Fortunately, I ended up with only a little bit of roundness around the edges, well within the void size that the optical cement would be able to fill.
The optical cement I got, Dymax OP-4-20632, is able to cure in a strong sunlight, but it cures much better in a UV light. Here, I am taking advantage of the latter, emitting from the monster black light lamp Polina got for the party in Poconos:
My idea was to bond both faces of the prism to 52mm clear photographic filters, whose metal rings perfectly fit the copper pipe I got for the main housing, thus centering the prism inside.
Here are some of the miscellaneous parts and tools used in the assembly:
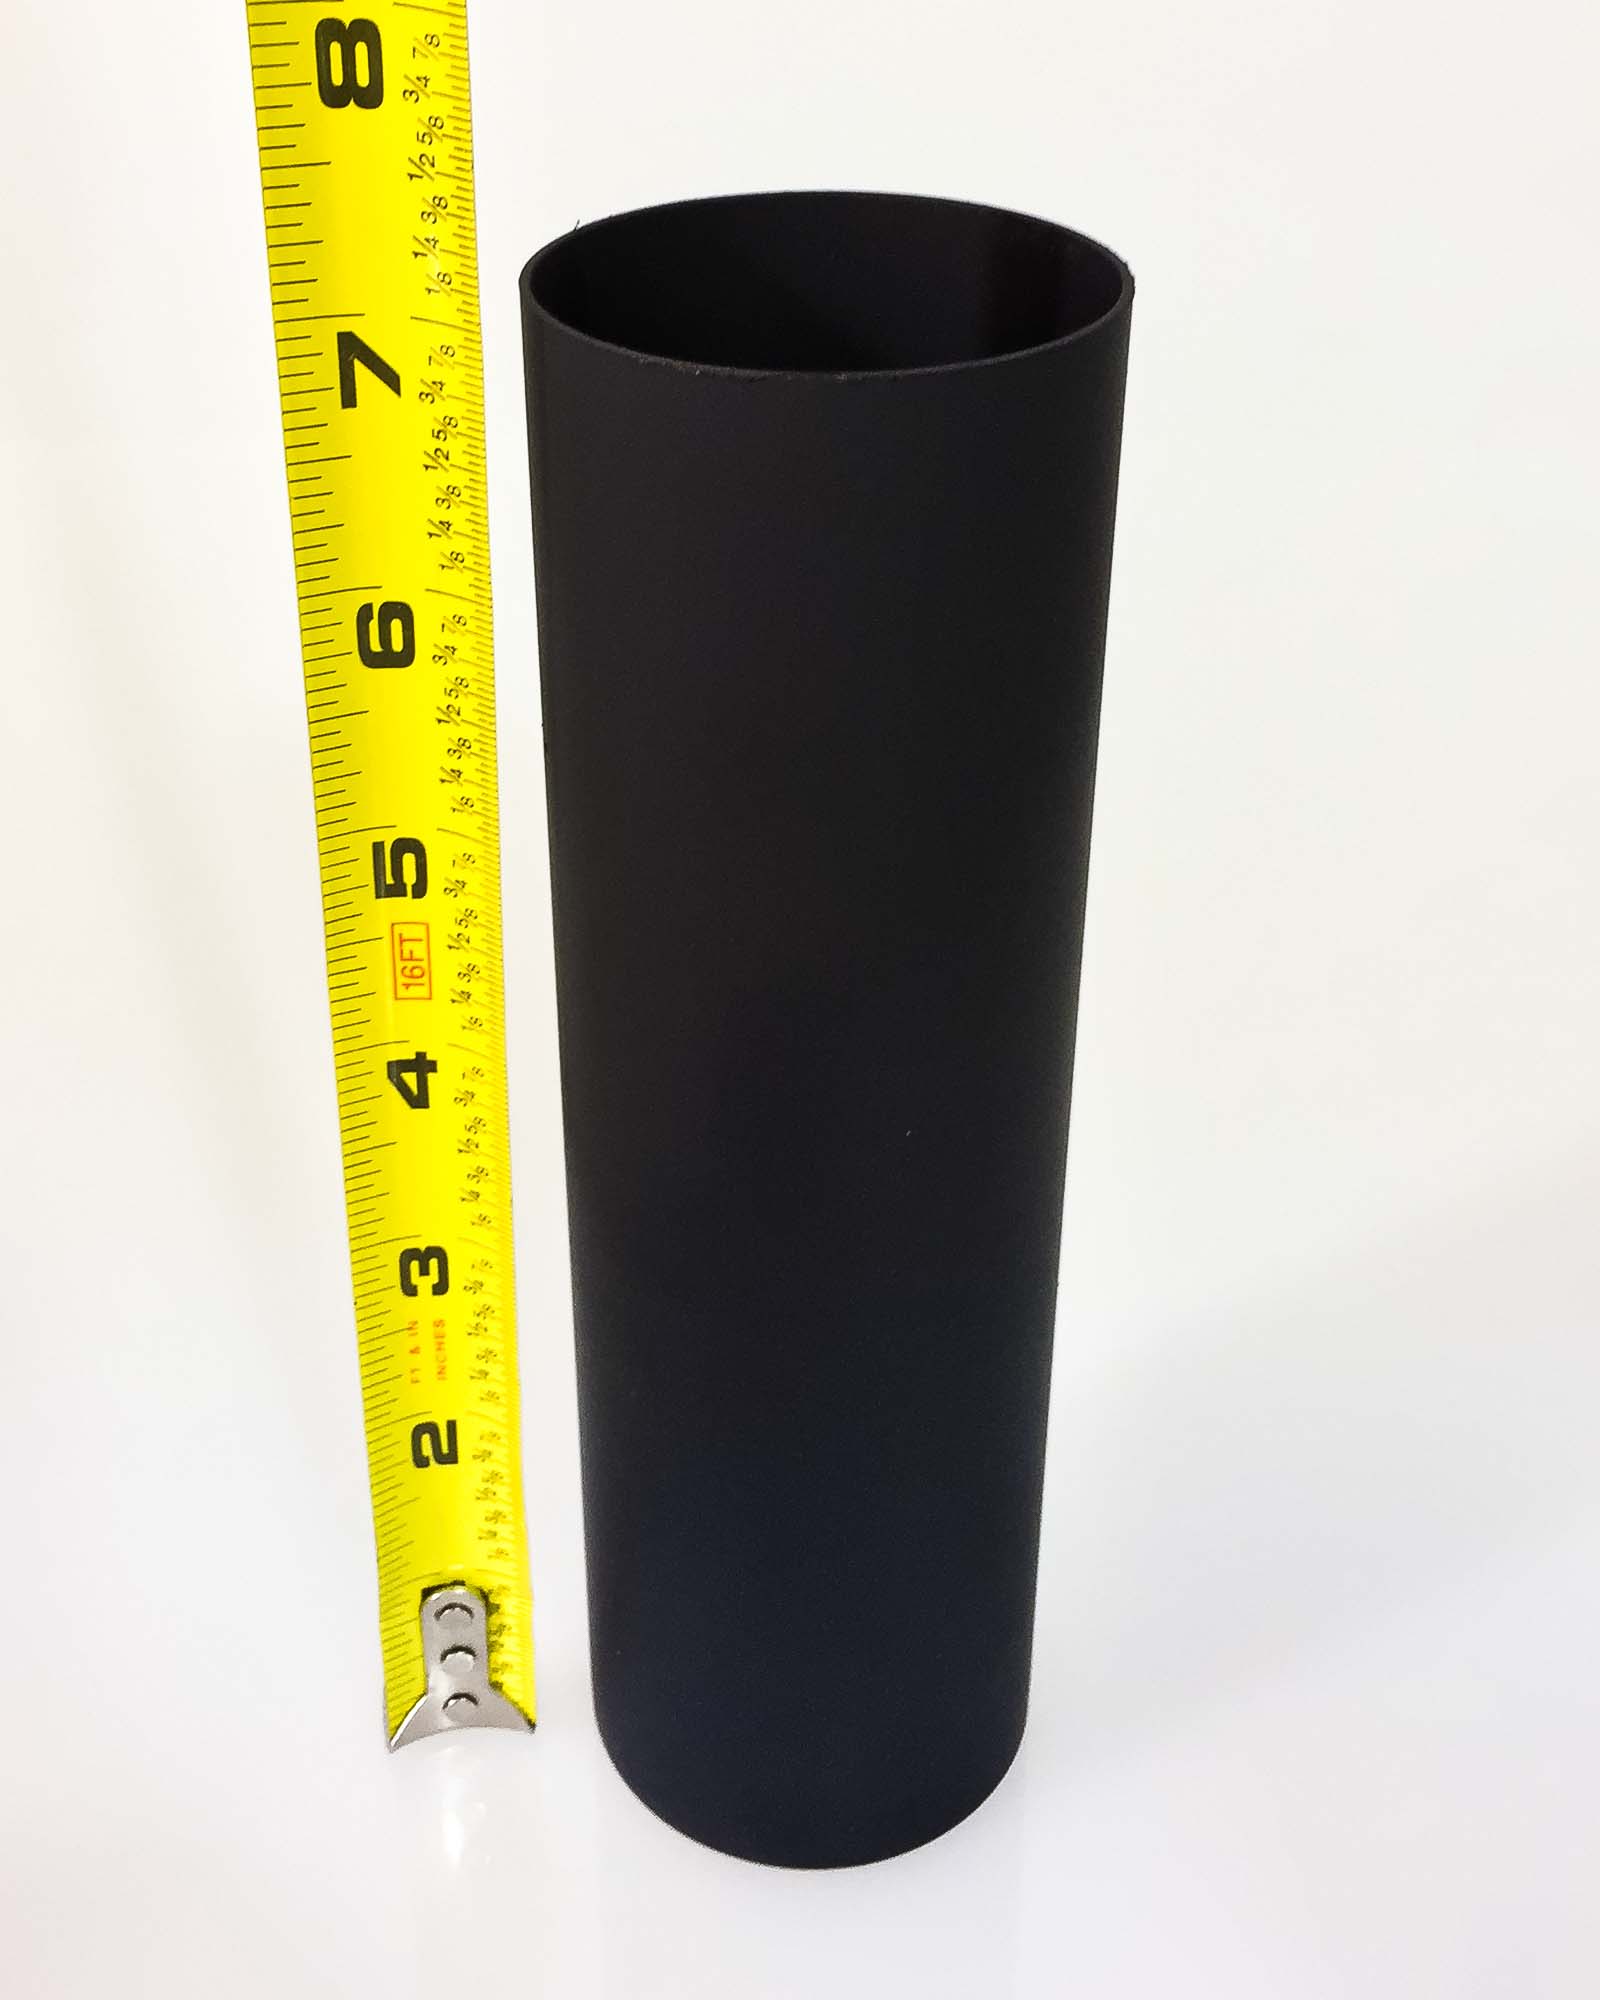
This is the main housing, a piece of 2″ DWV copper pipe (outer diameter 2.125”, wall thickness 0.042”):
If you’re stuck on a deserted island and need to blacken a copper pipe, you can use hard-boiled eggs. Rub the yolks on the copper, wrap it air-tightly (you will know why), and after a while it will blacken.
Unfortunately, it doesn’t work perfectly, so I had to fall back on spray paint. Oh, and cleaning the dried rotten egg yolk stuck to the outside AND inside of the copper pipe is hard.
This took five minutes. There’s a lesson in there somewhere:
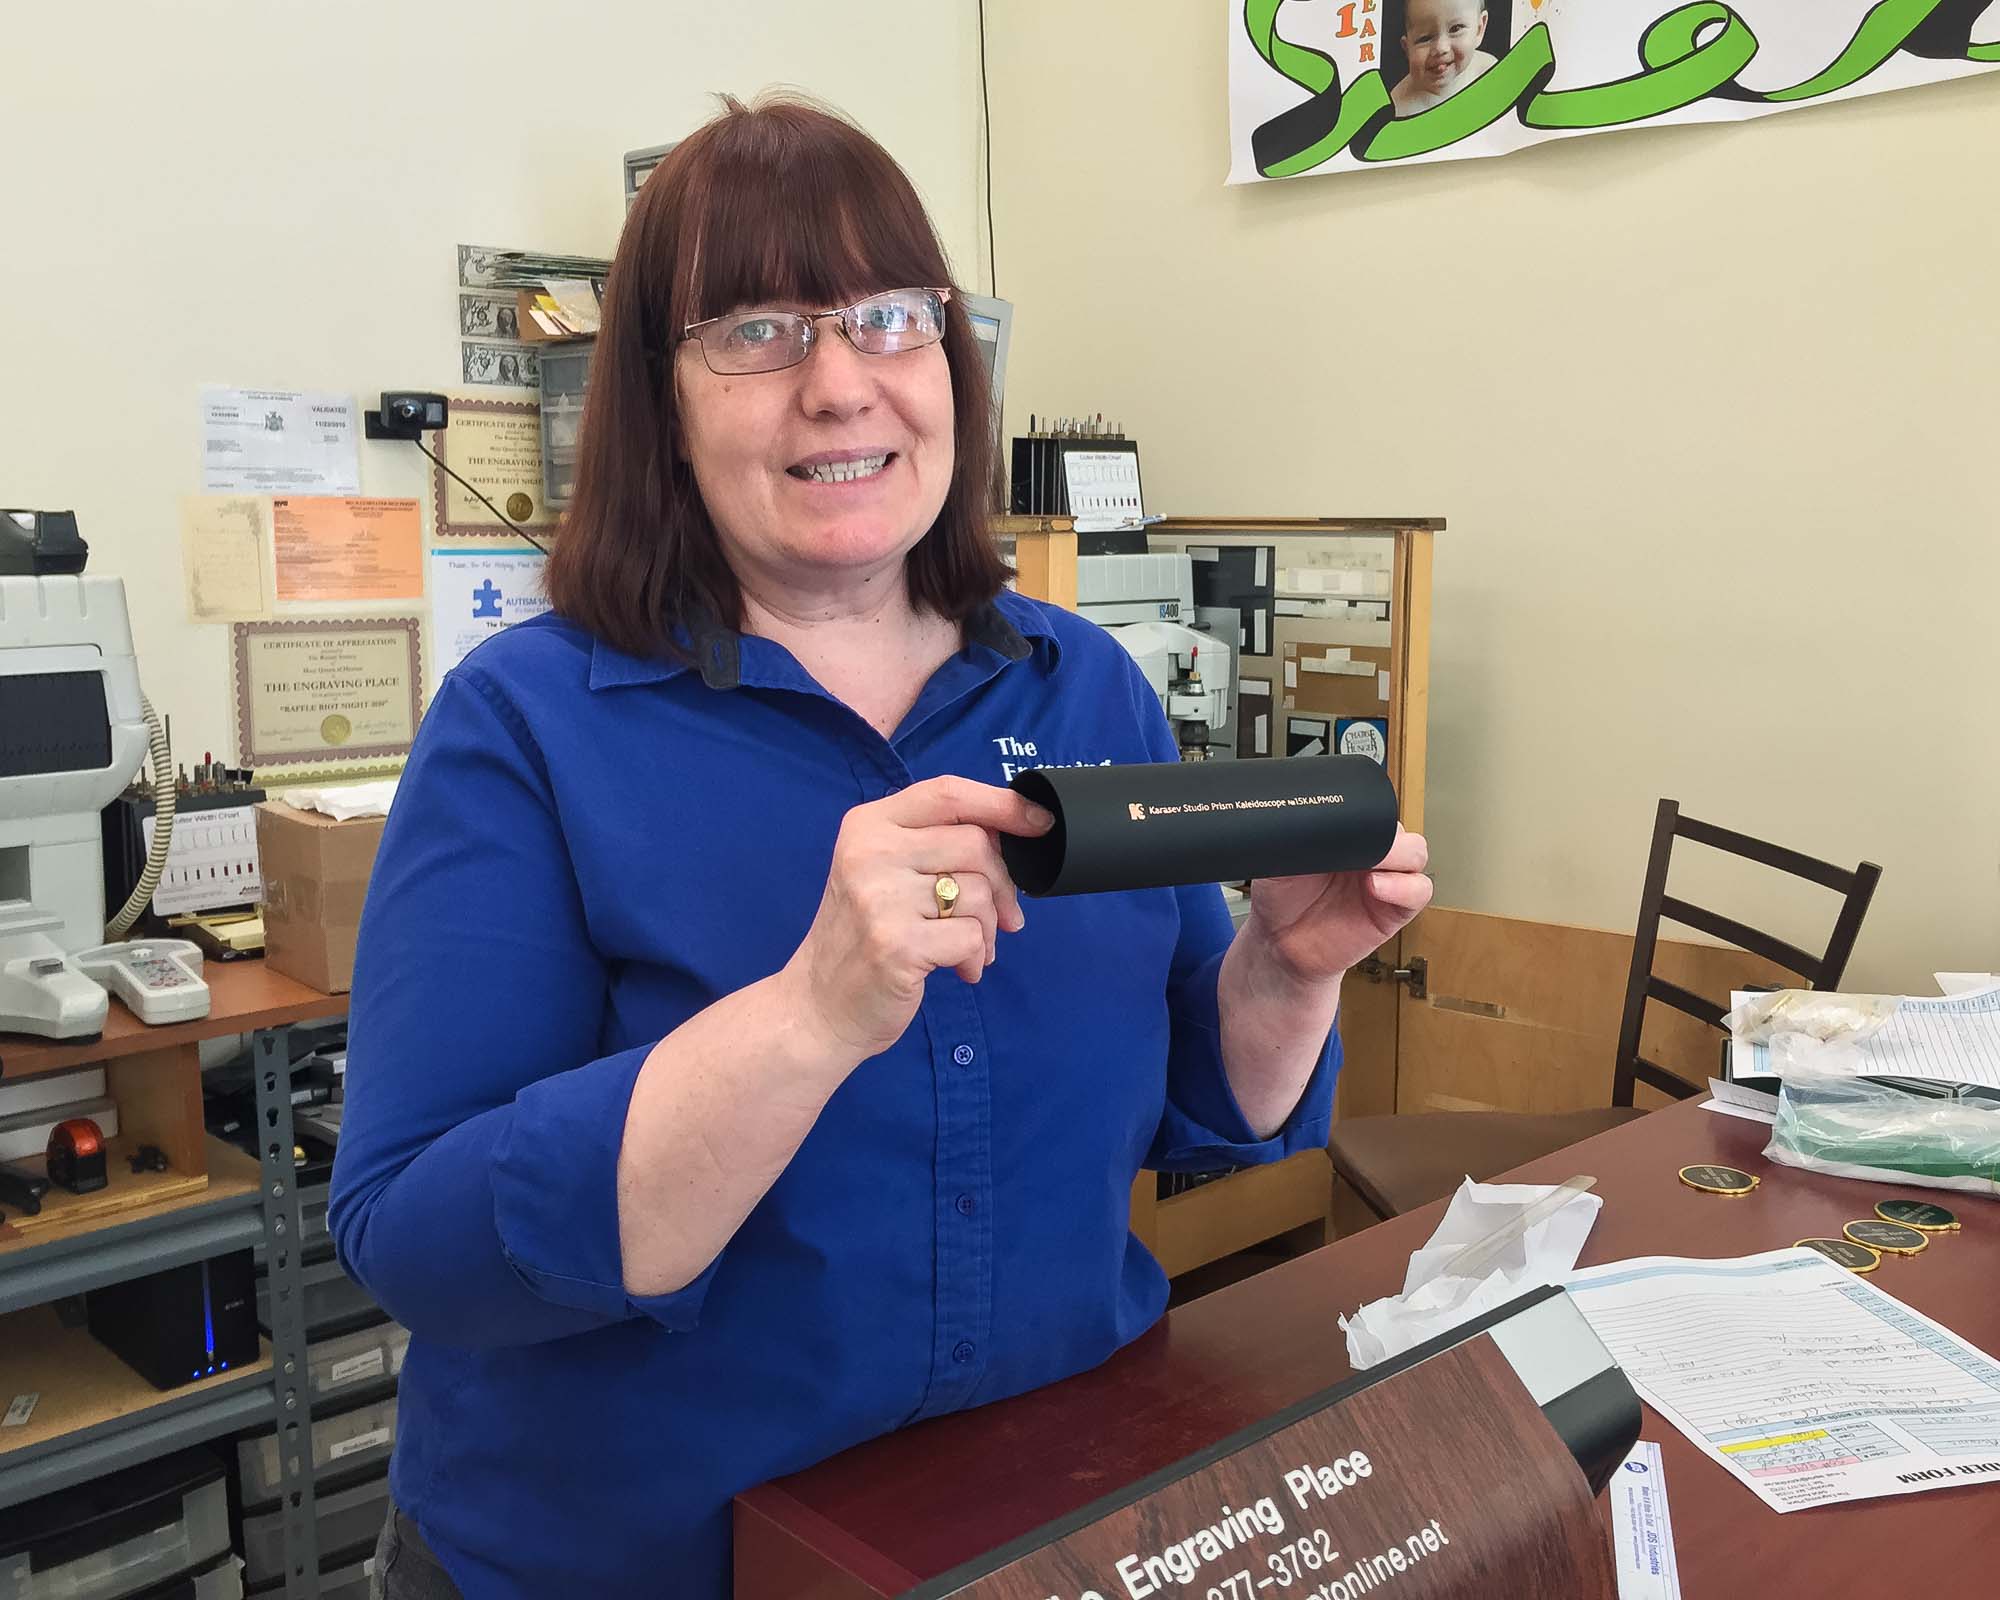
Rebecca from The Engraving Place in Brooklyn is holding up the casing she has just finished engraving for me:
The casing (upper left) goes over the Prism Assembly and is capped by the capsule with the gemstones on the one end and a +2 close-up lens and step-down cover on the other.
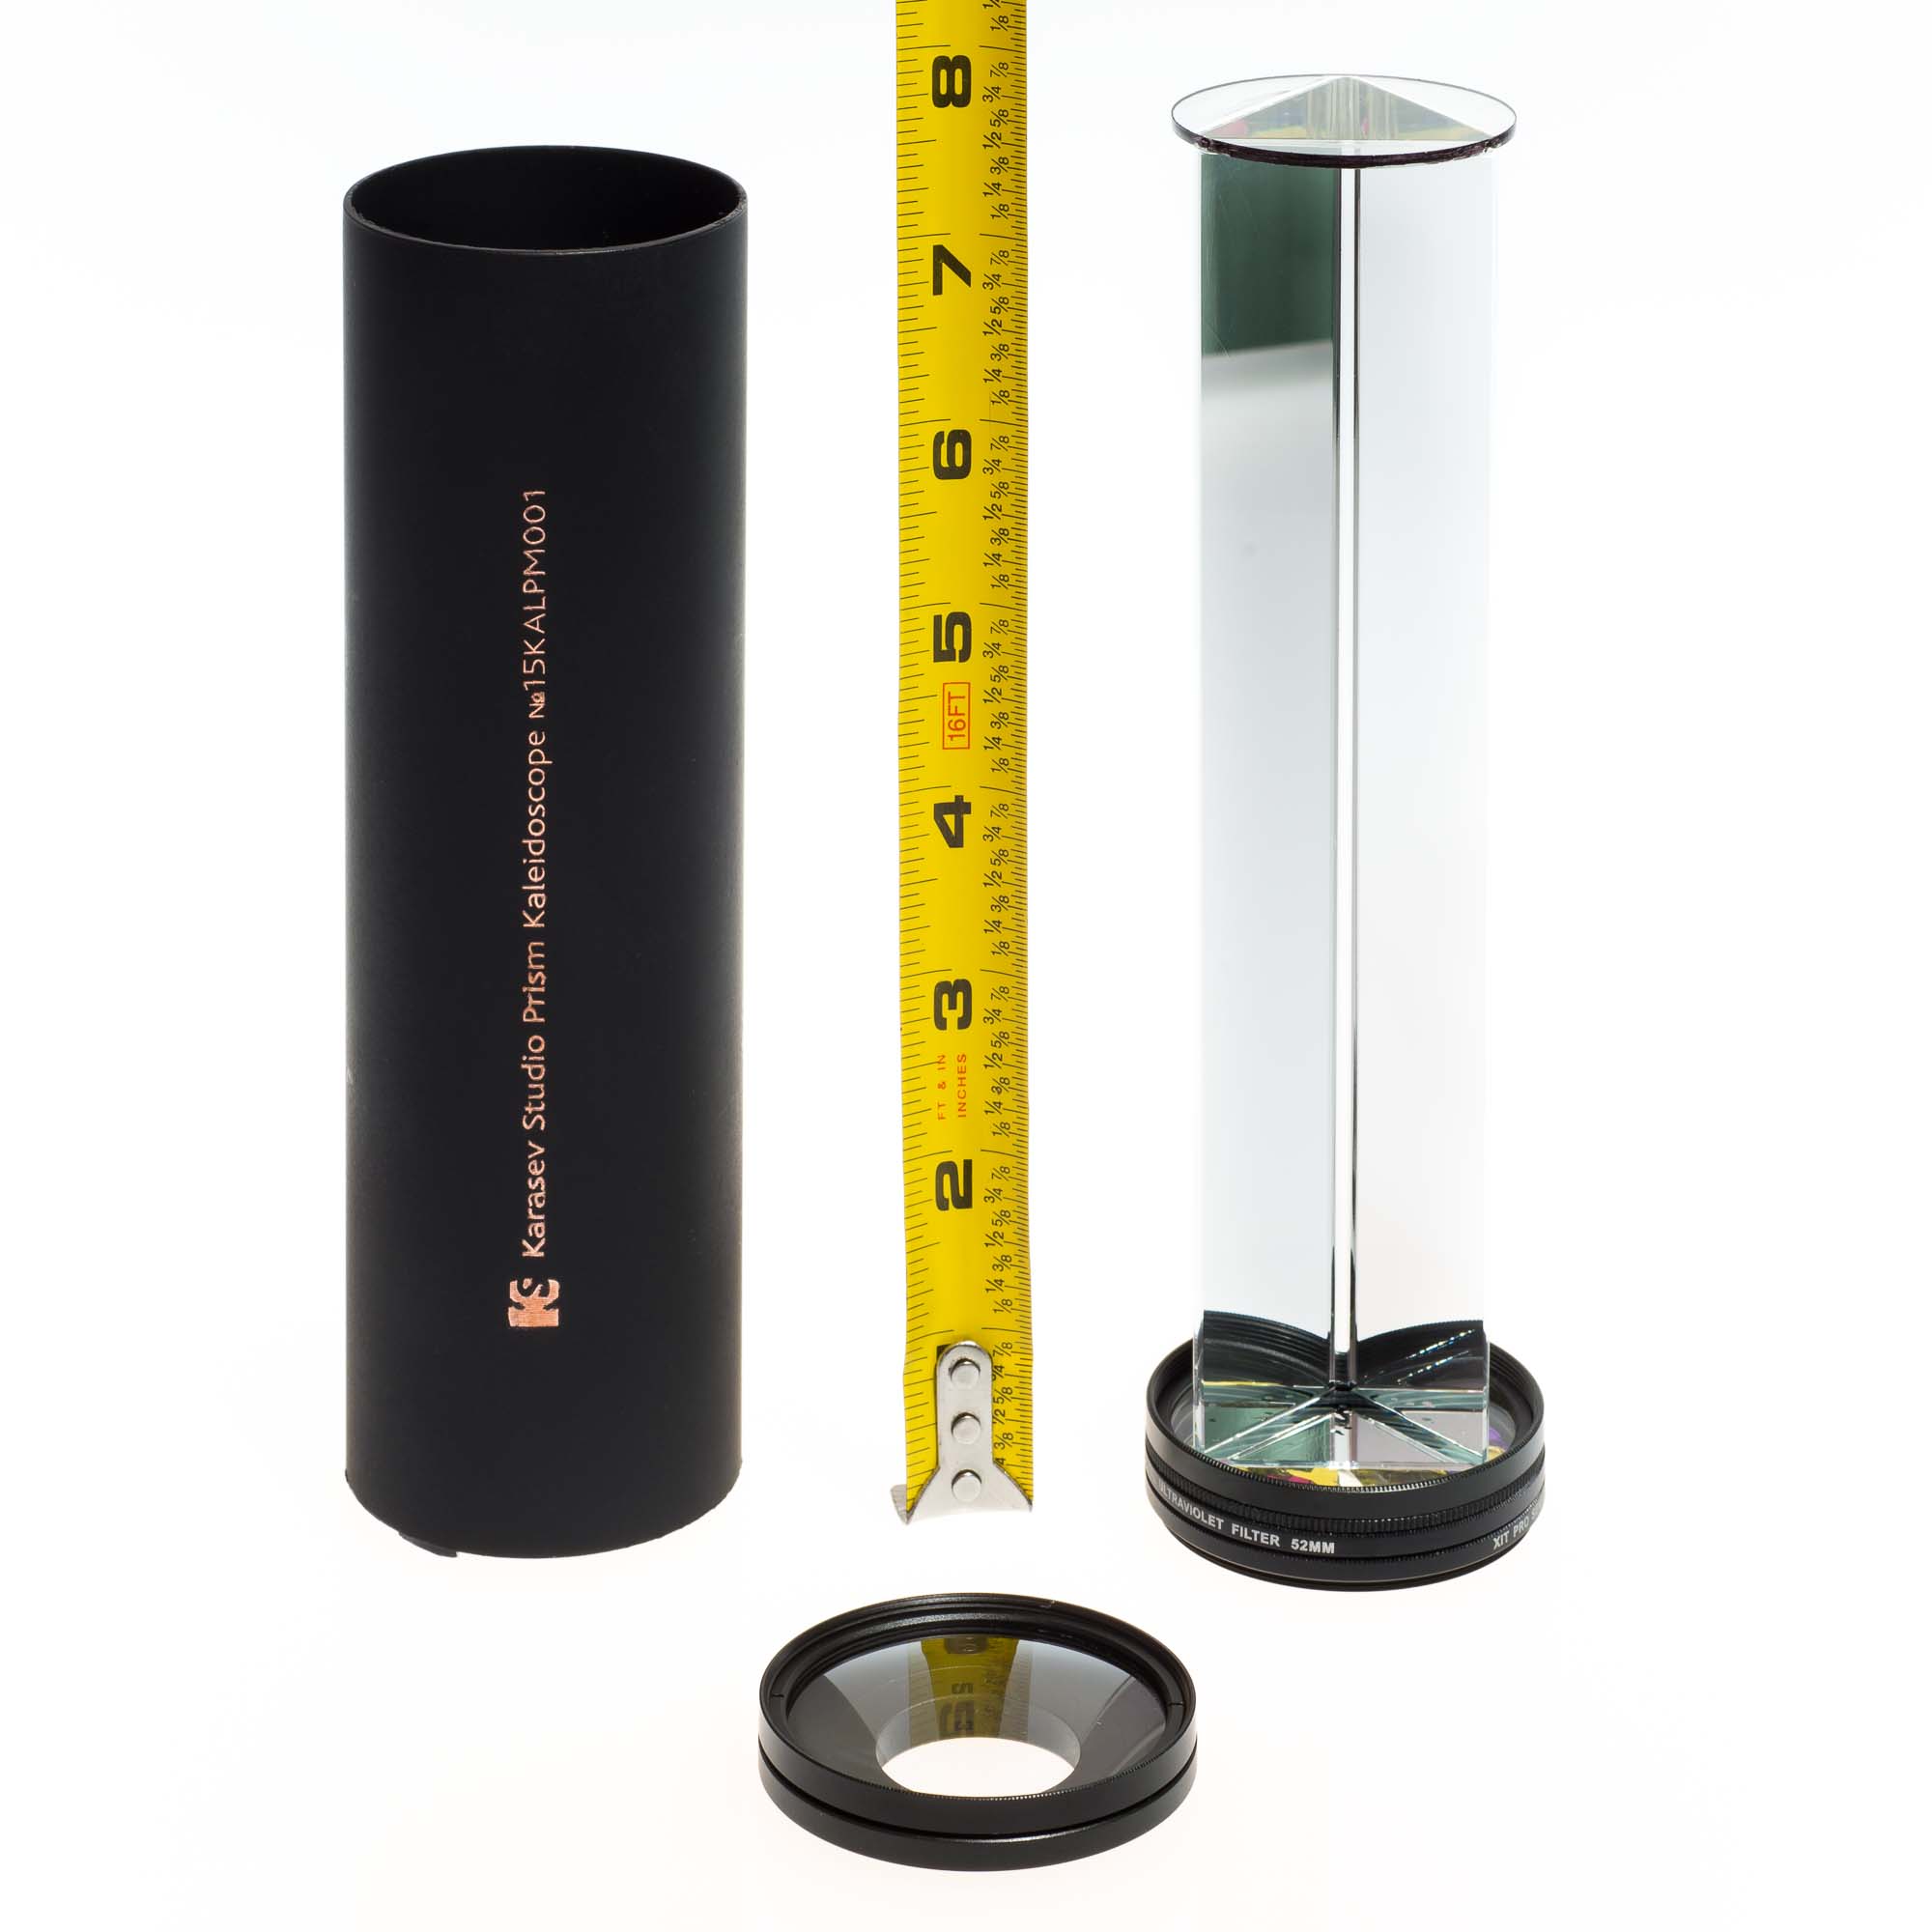
The close-up lens helps focusing the eyesight on the view without eyestrain.
Another view of the same components: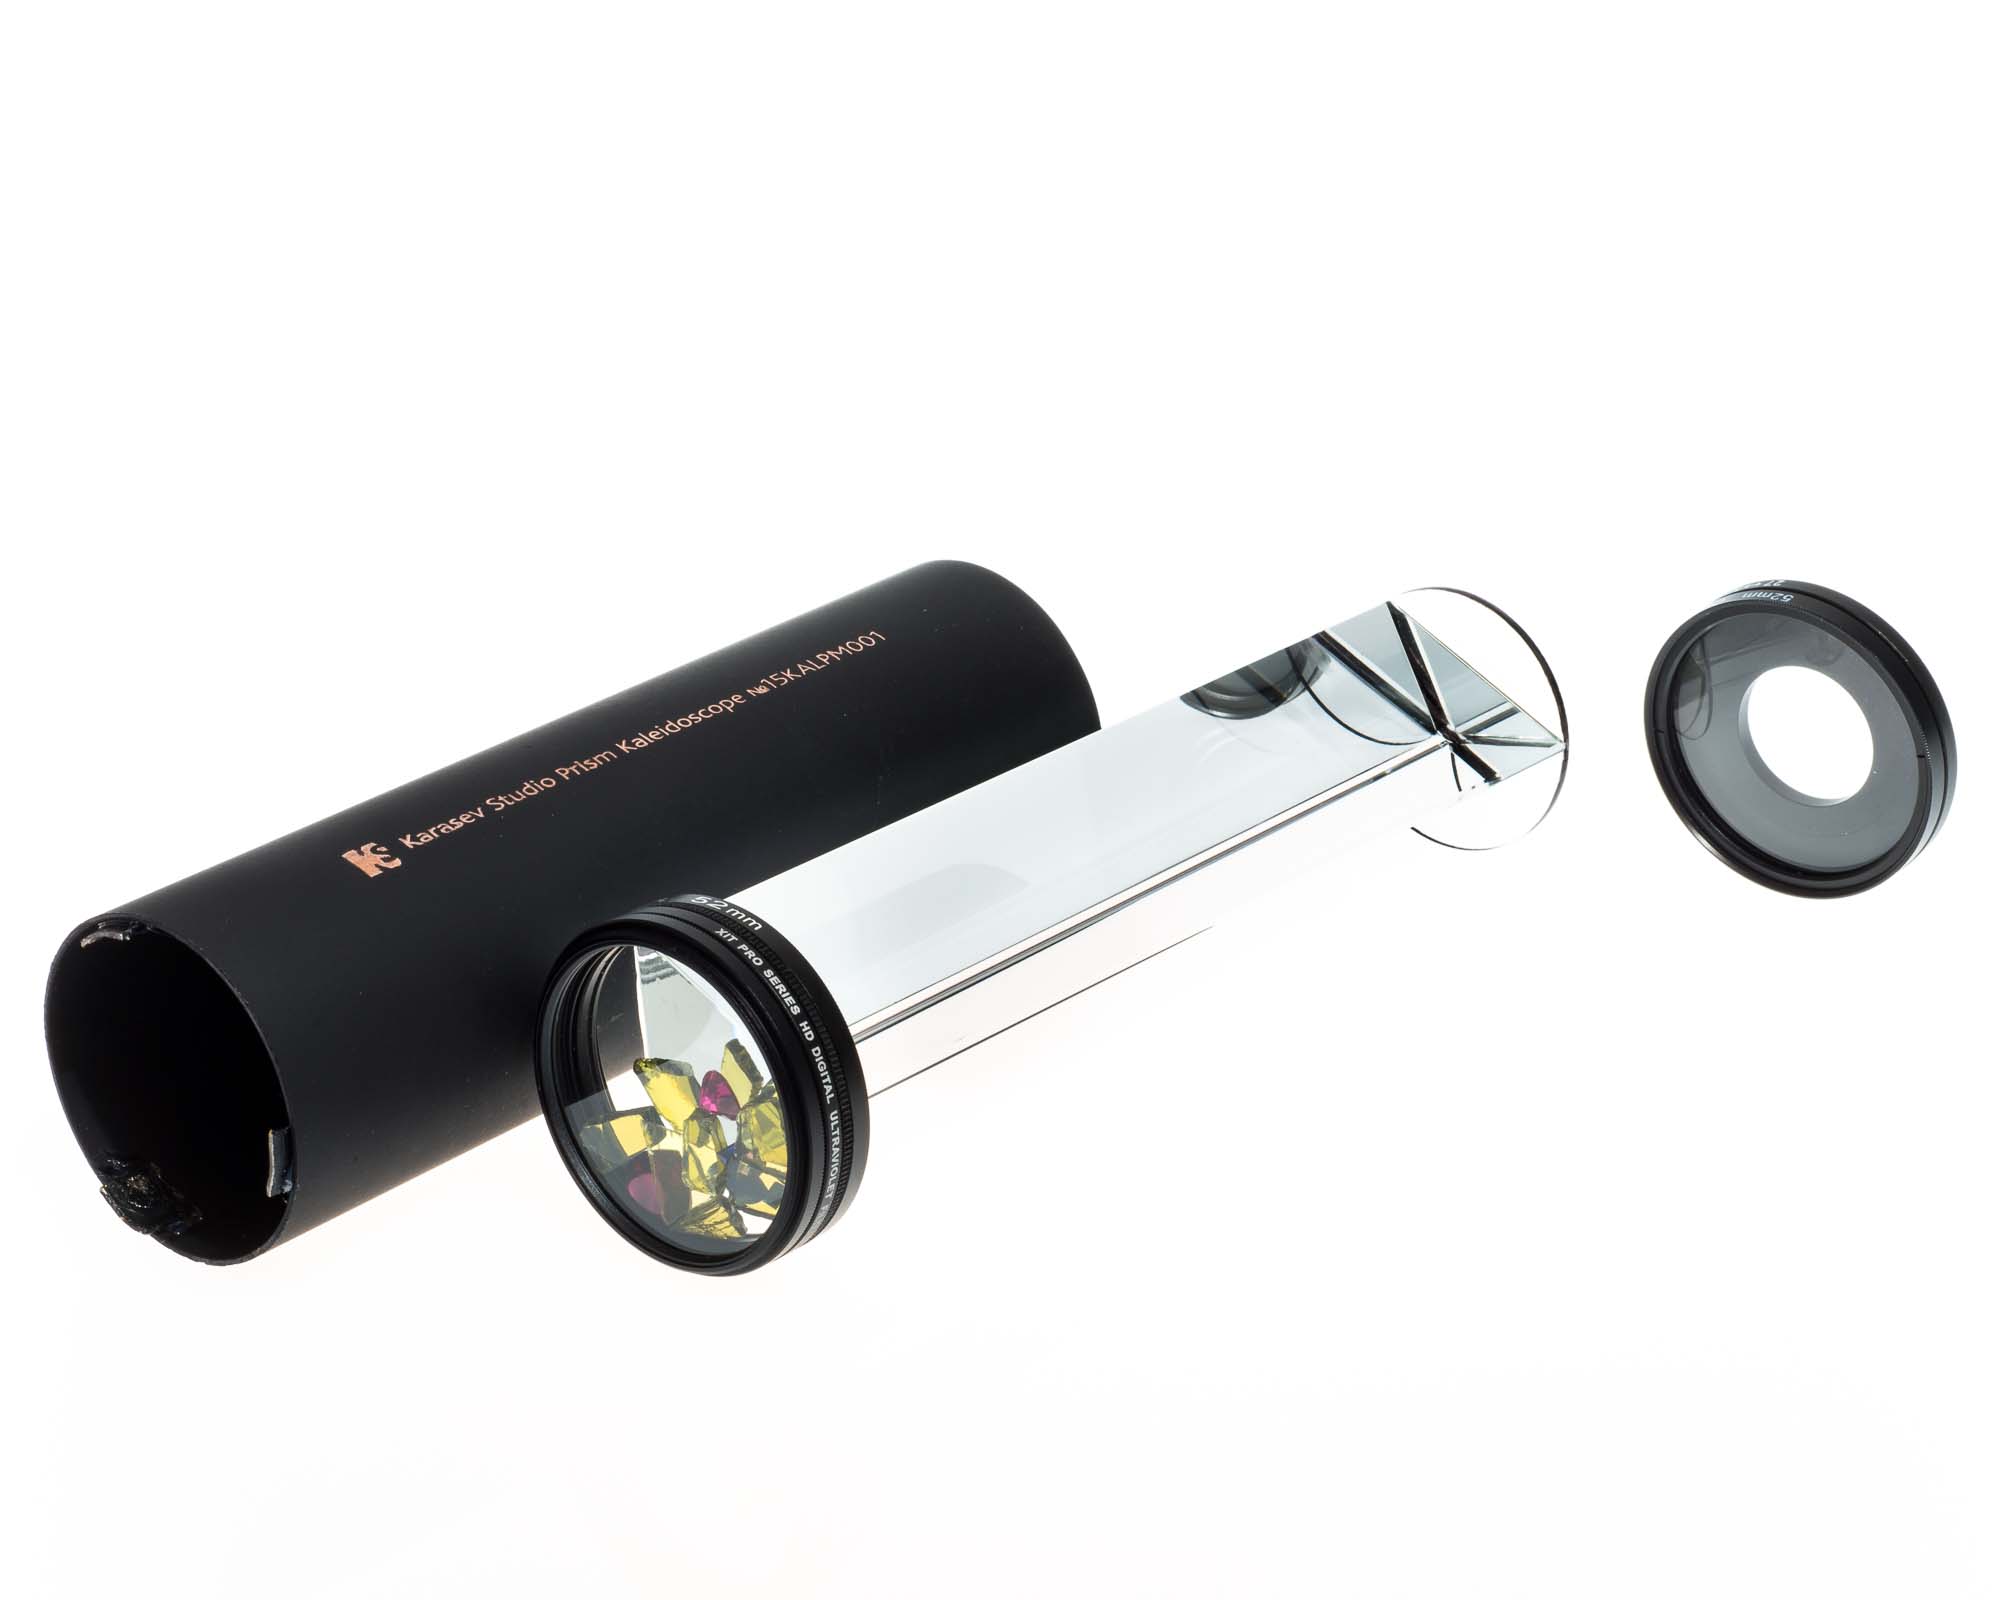 Having previewed the kaleidoscope action, I’ve shattered an empty bottle of red wine and added a few pieces of olive-colored glass from it to the capsule to help space out and shuffle the gemstones.
Pro tip: always have a bottle of red wine on hand when making kaleidoscopes.
The larger ruby was too deep to fit in the capsule, so I decided to grind down its base somewhat, encouraged by how well my effort polishing the glass prism ends had turned out. Not so fast! It took me (and dad, whom I eventually asked to help out with this) a half day of sanding, using frightening grits of sandpaper on a belt sander, to do it! I suspected ruby would be harder than glass, but I could never imagine it would be harder this many times over. Still, managed to do it. You can make out the large red stone’s now-flat backside on this photo.
The kaleidoscope is assembled and duly entered into the database of my work: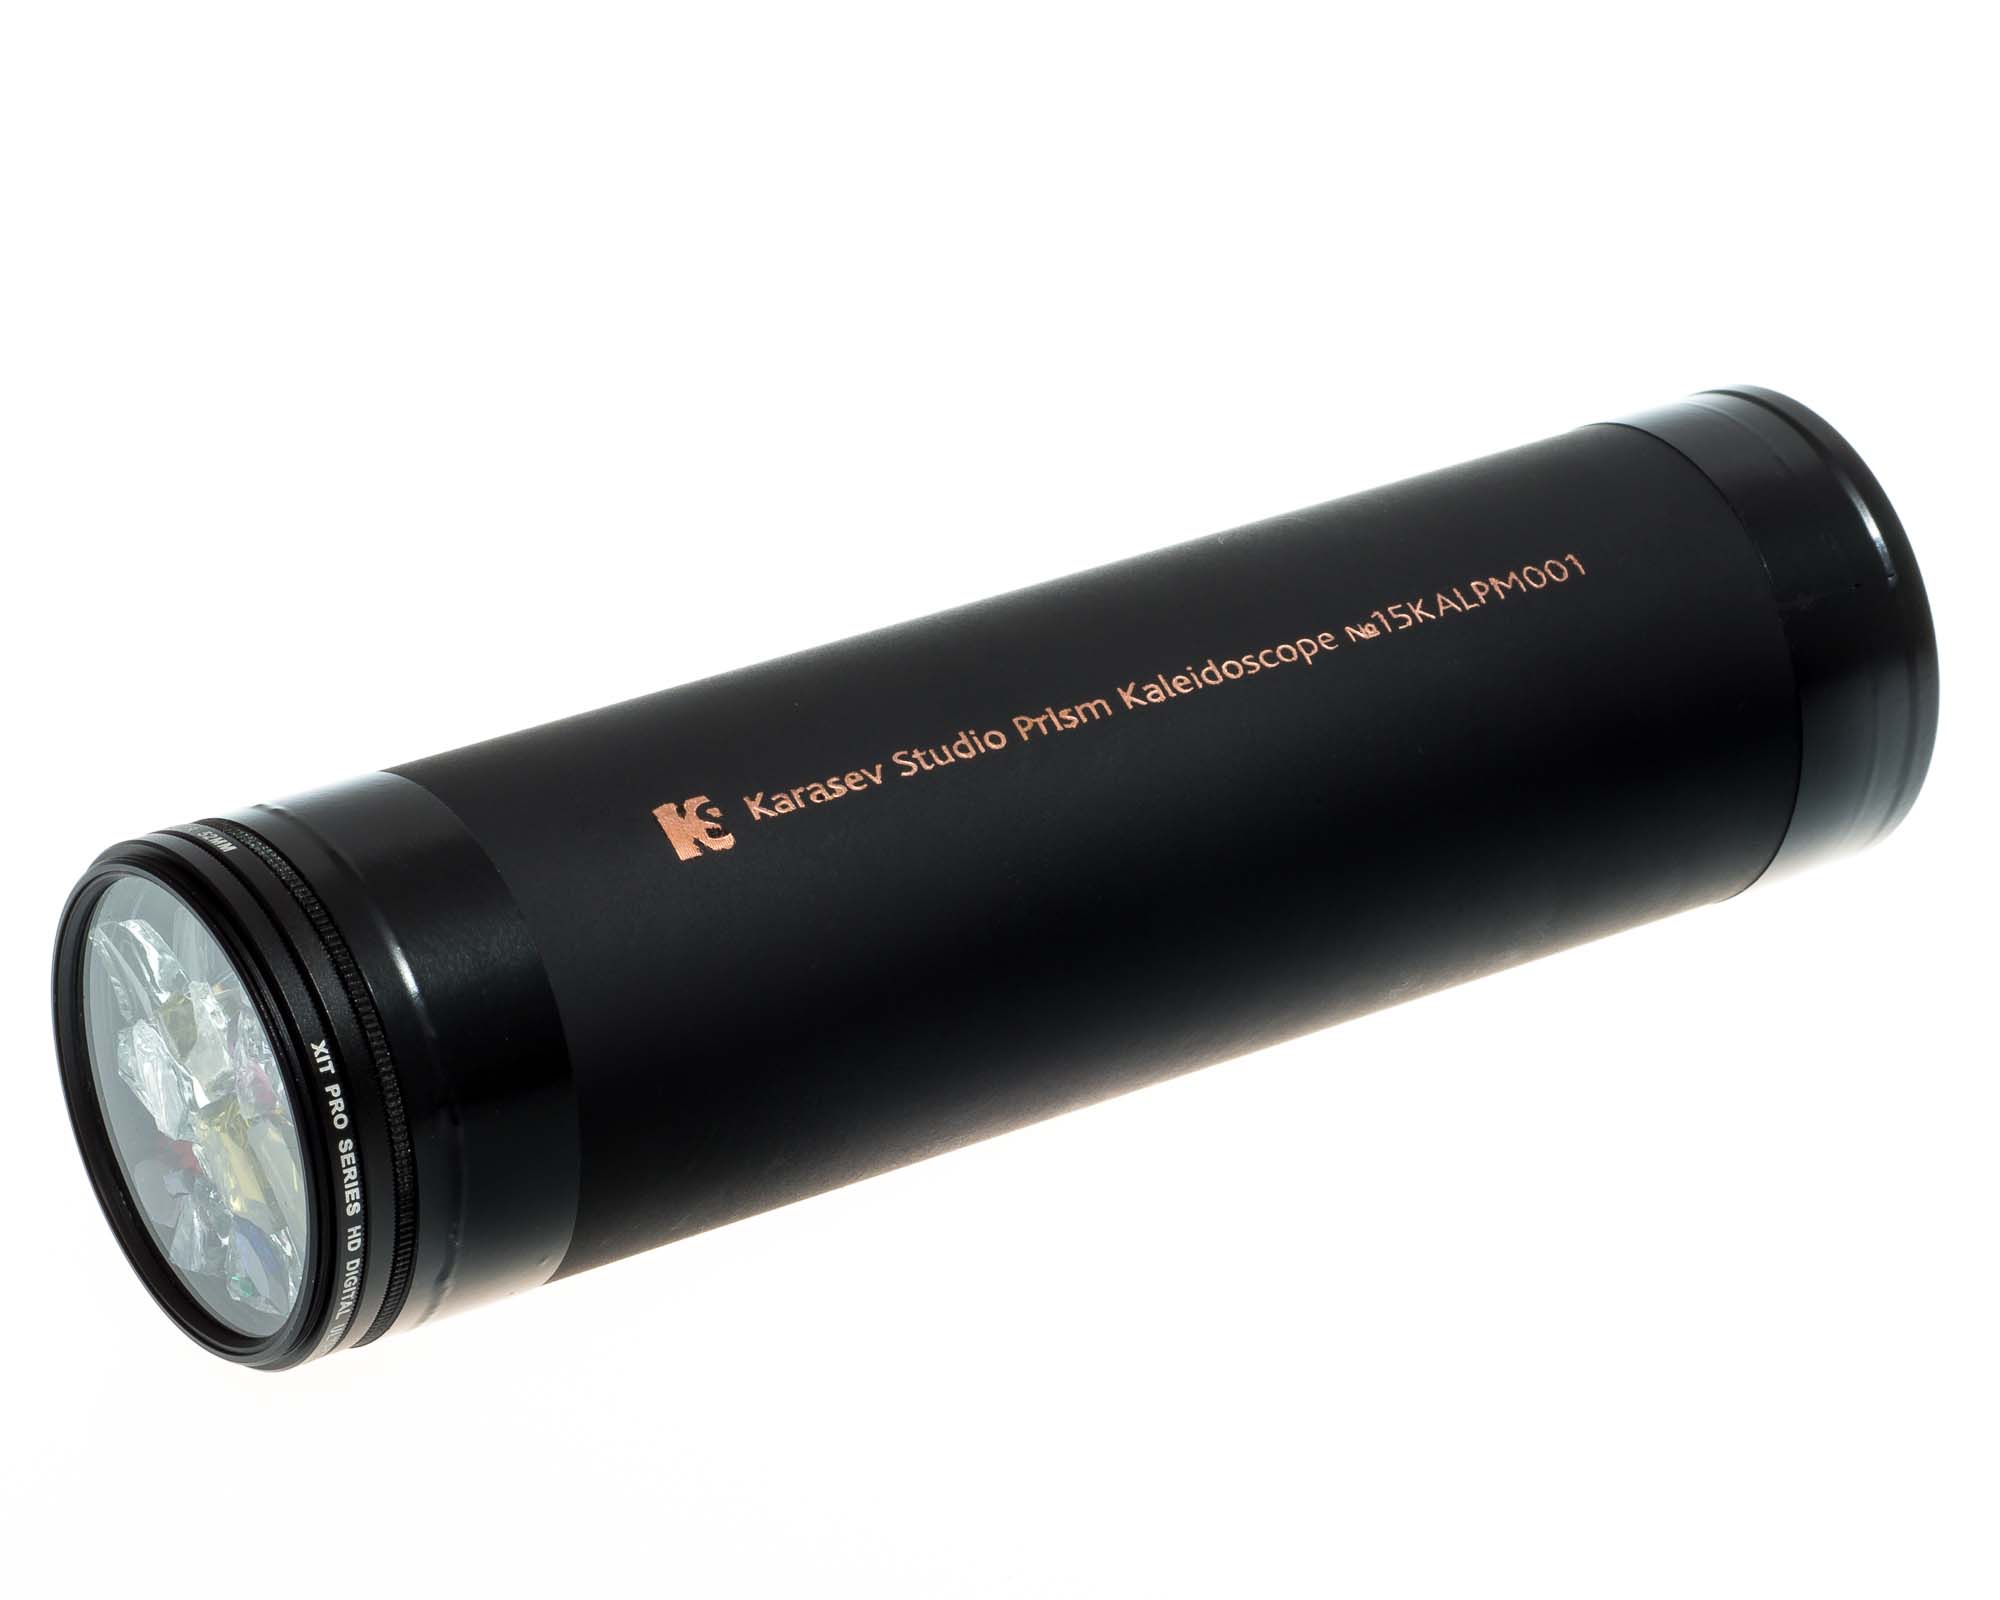 Having reviewed the kaleidoscope action, I’ve shattered an empty bottle of white wine and added a few pieces of clear glass from it to the capsule for a more balanced and refined view.
Pro tip: always have a bottle of white wine on hand when making kaleidoscopes.
The view from the other end.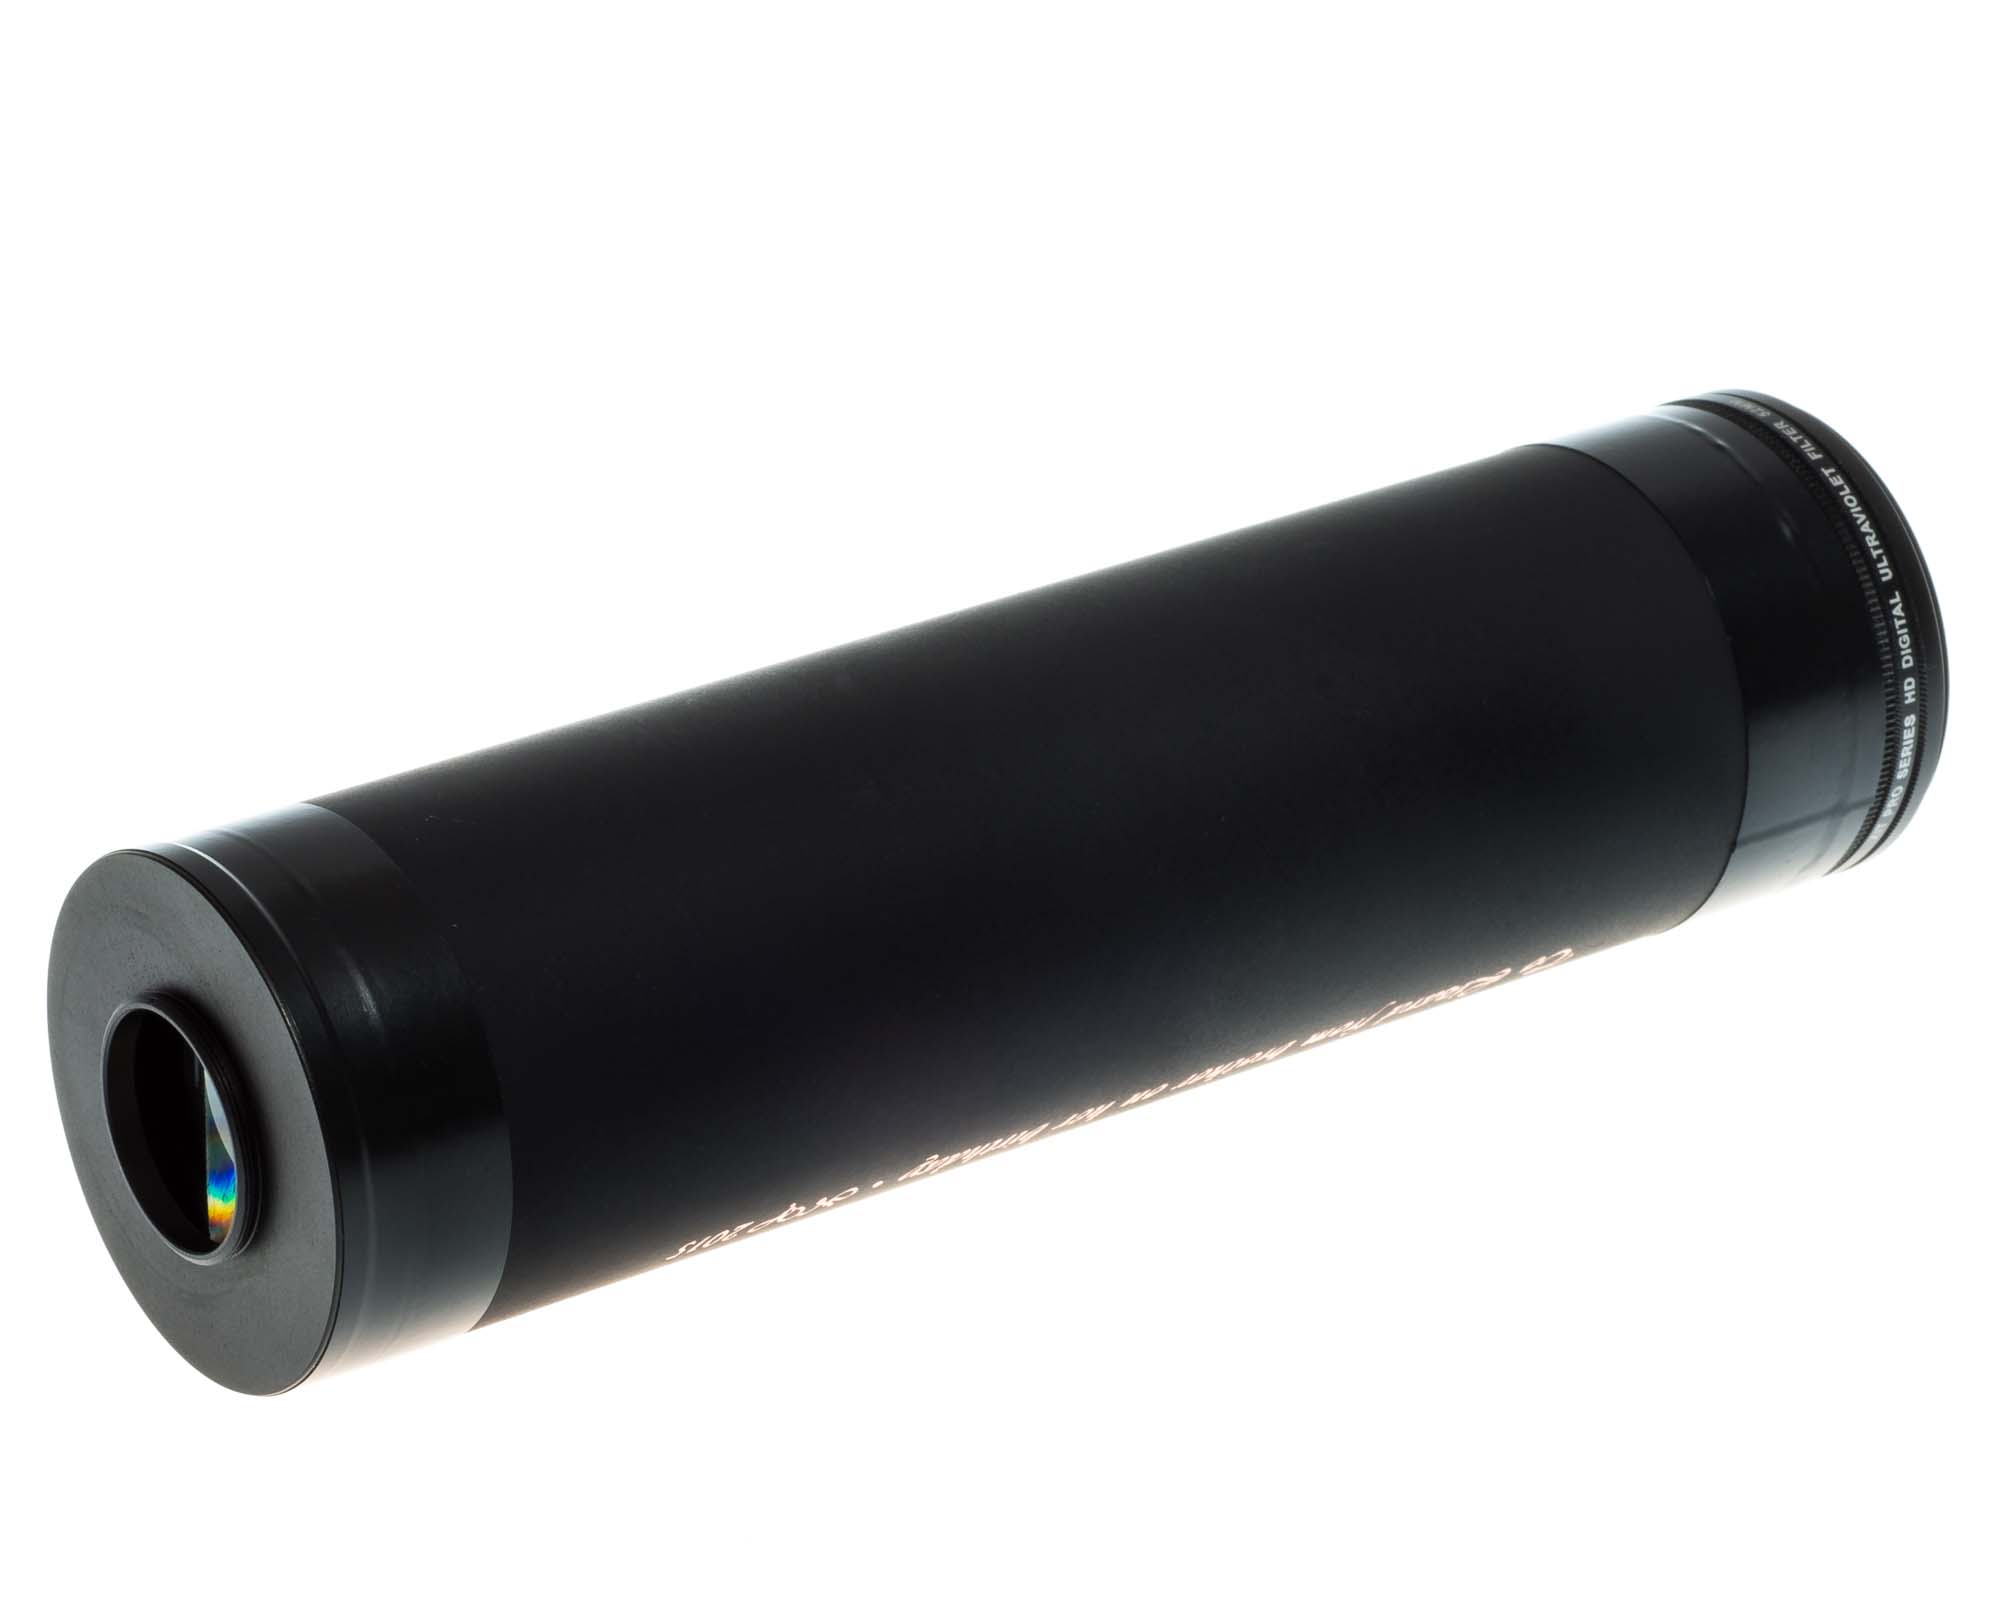 Gift inscription for my sister:
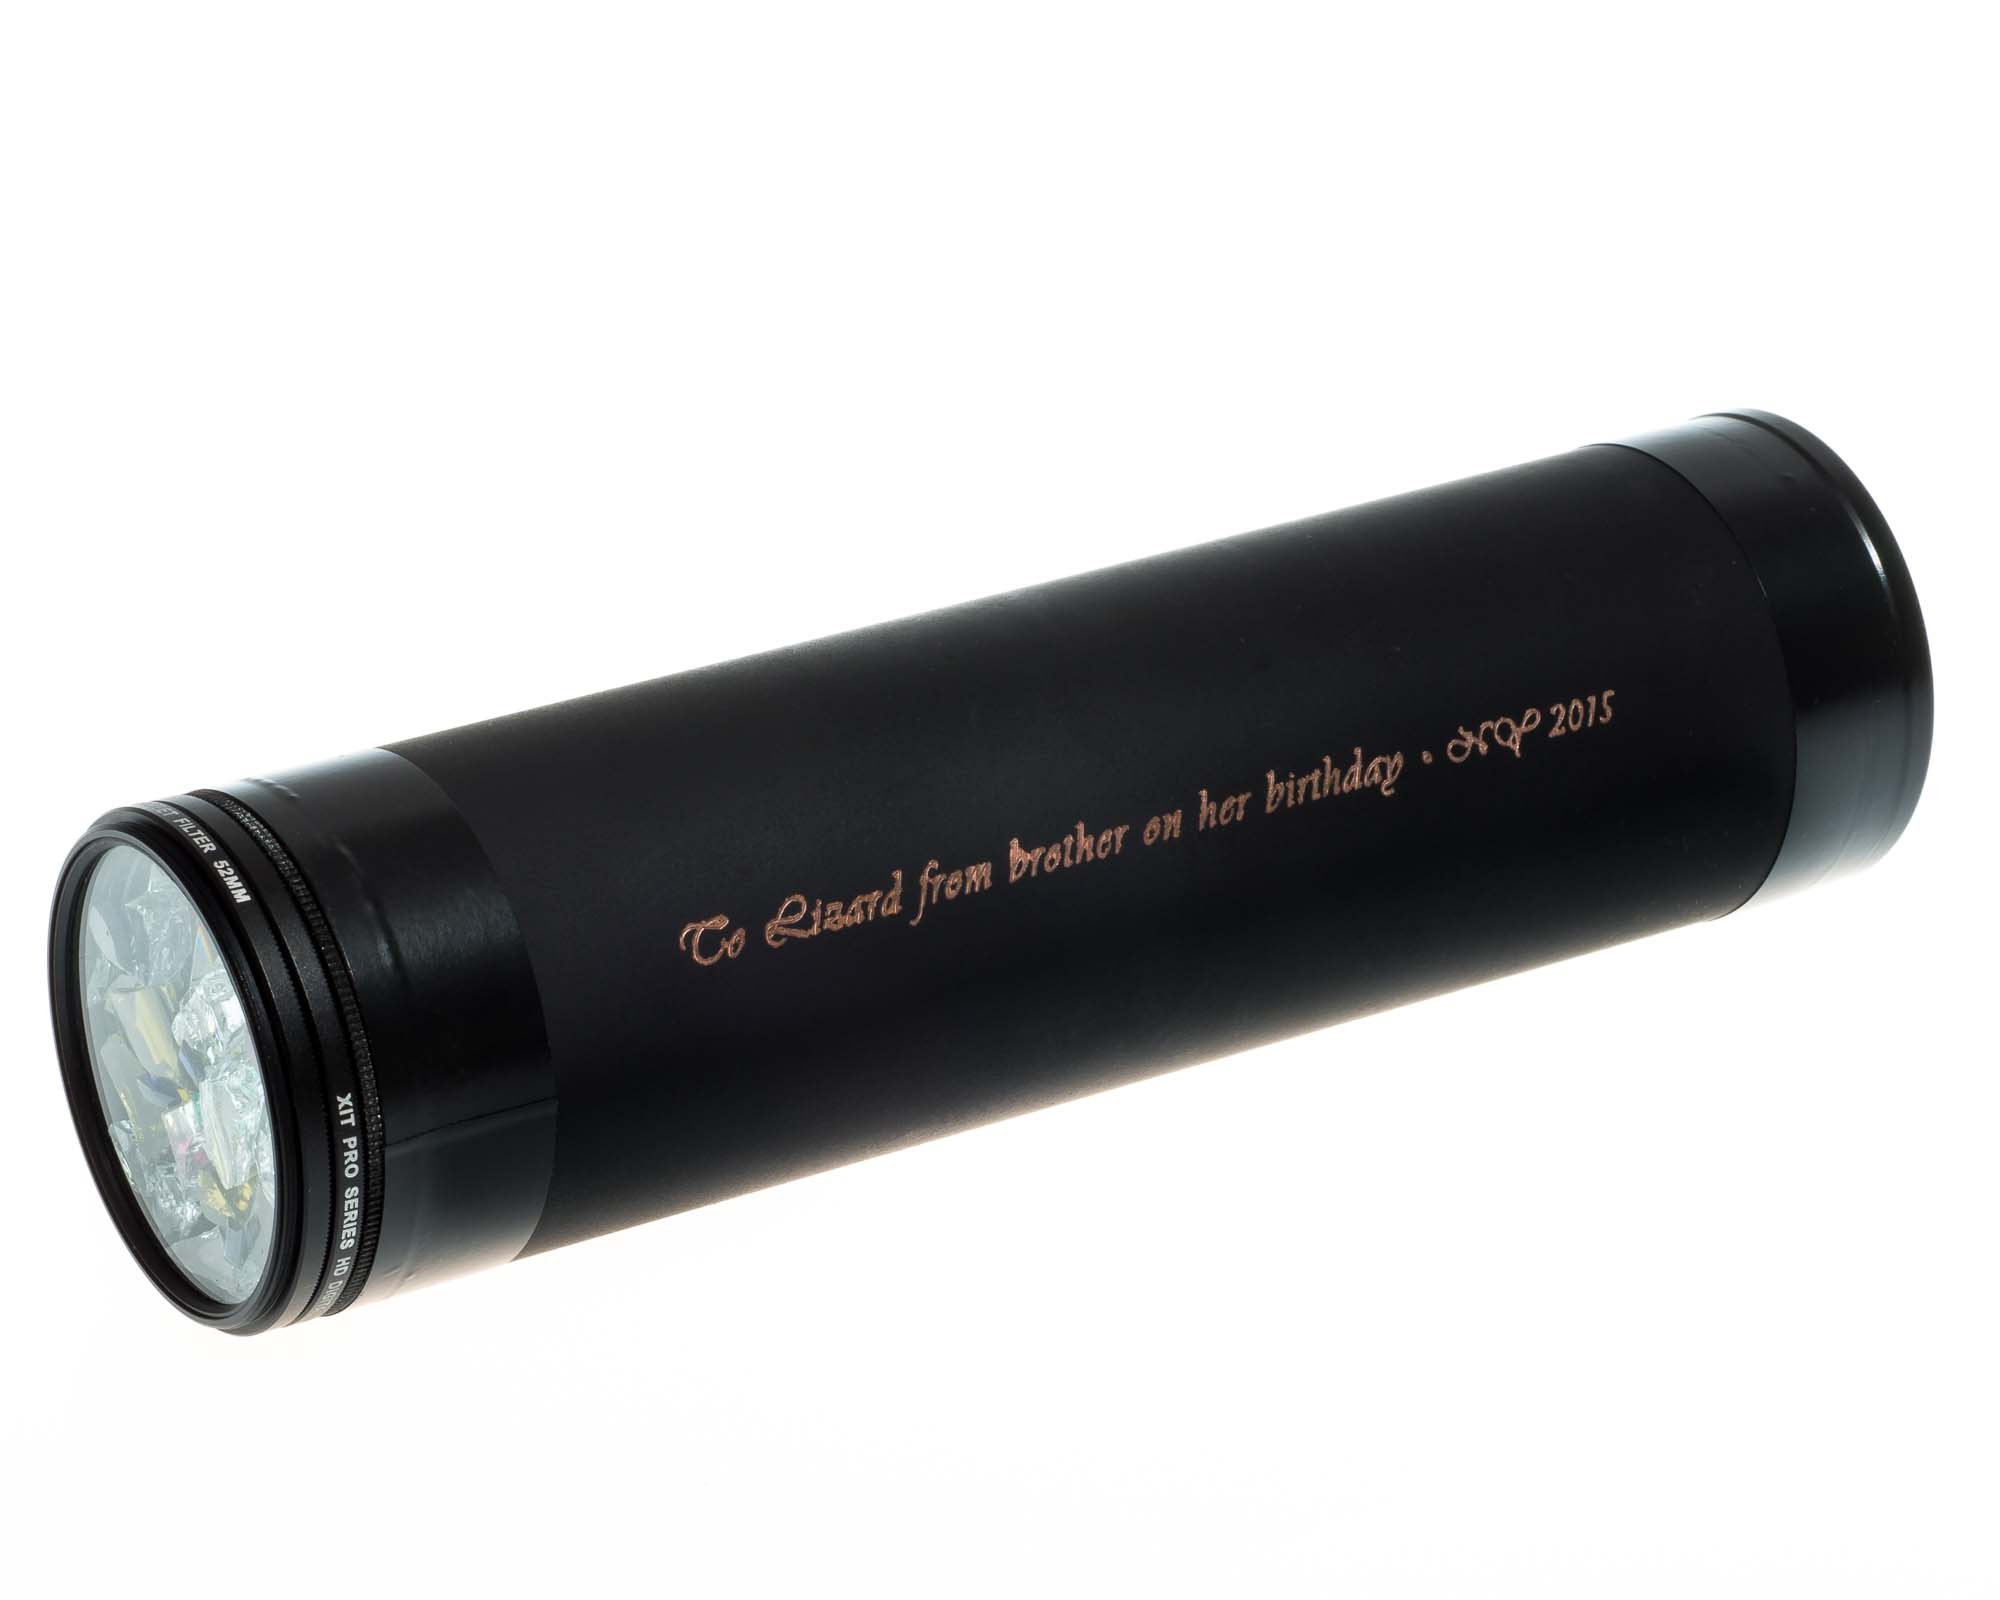 The capsule is able to rotate vs. the main body of the kaleidoscope, as I’m using a rotating mechanism from a 52mm polarizing filter.
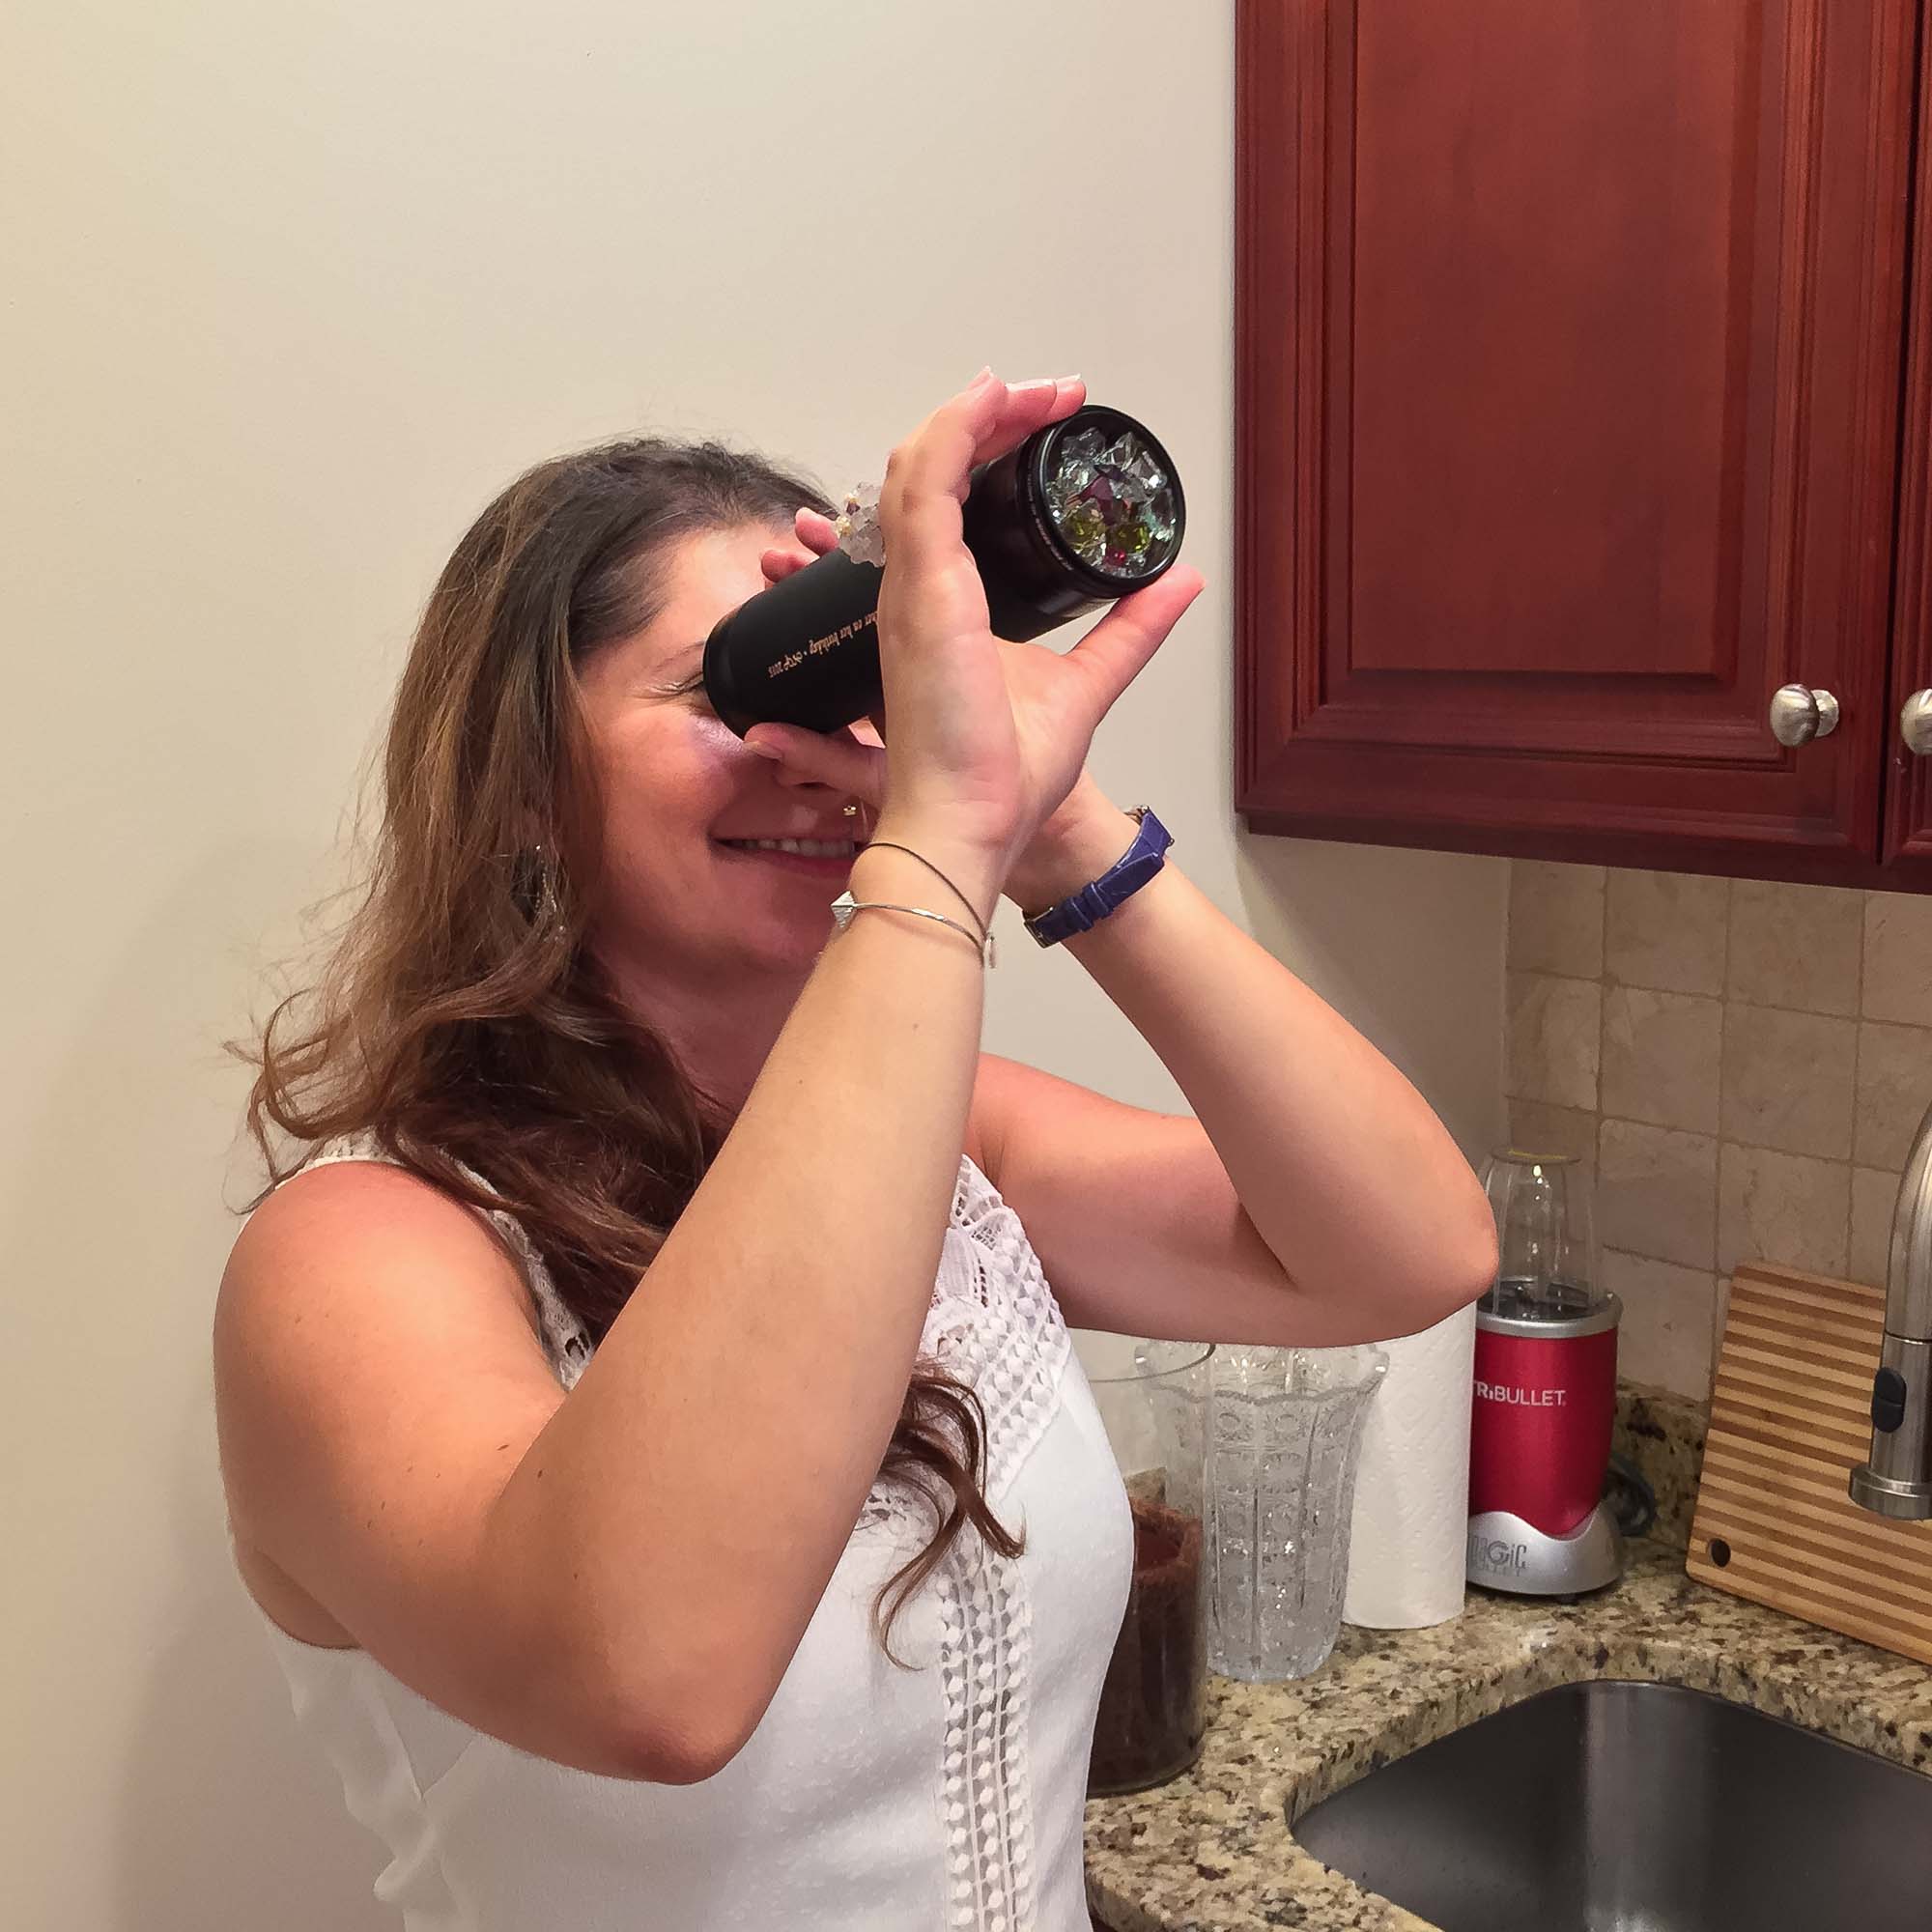
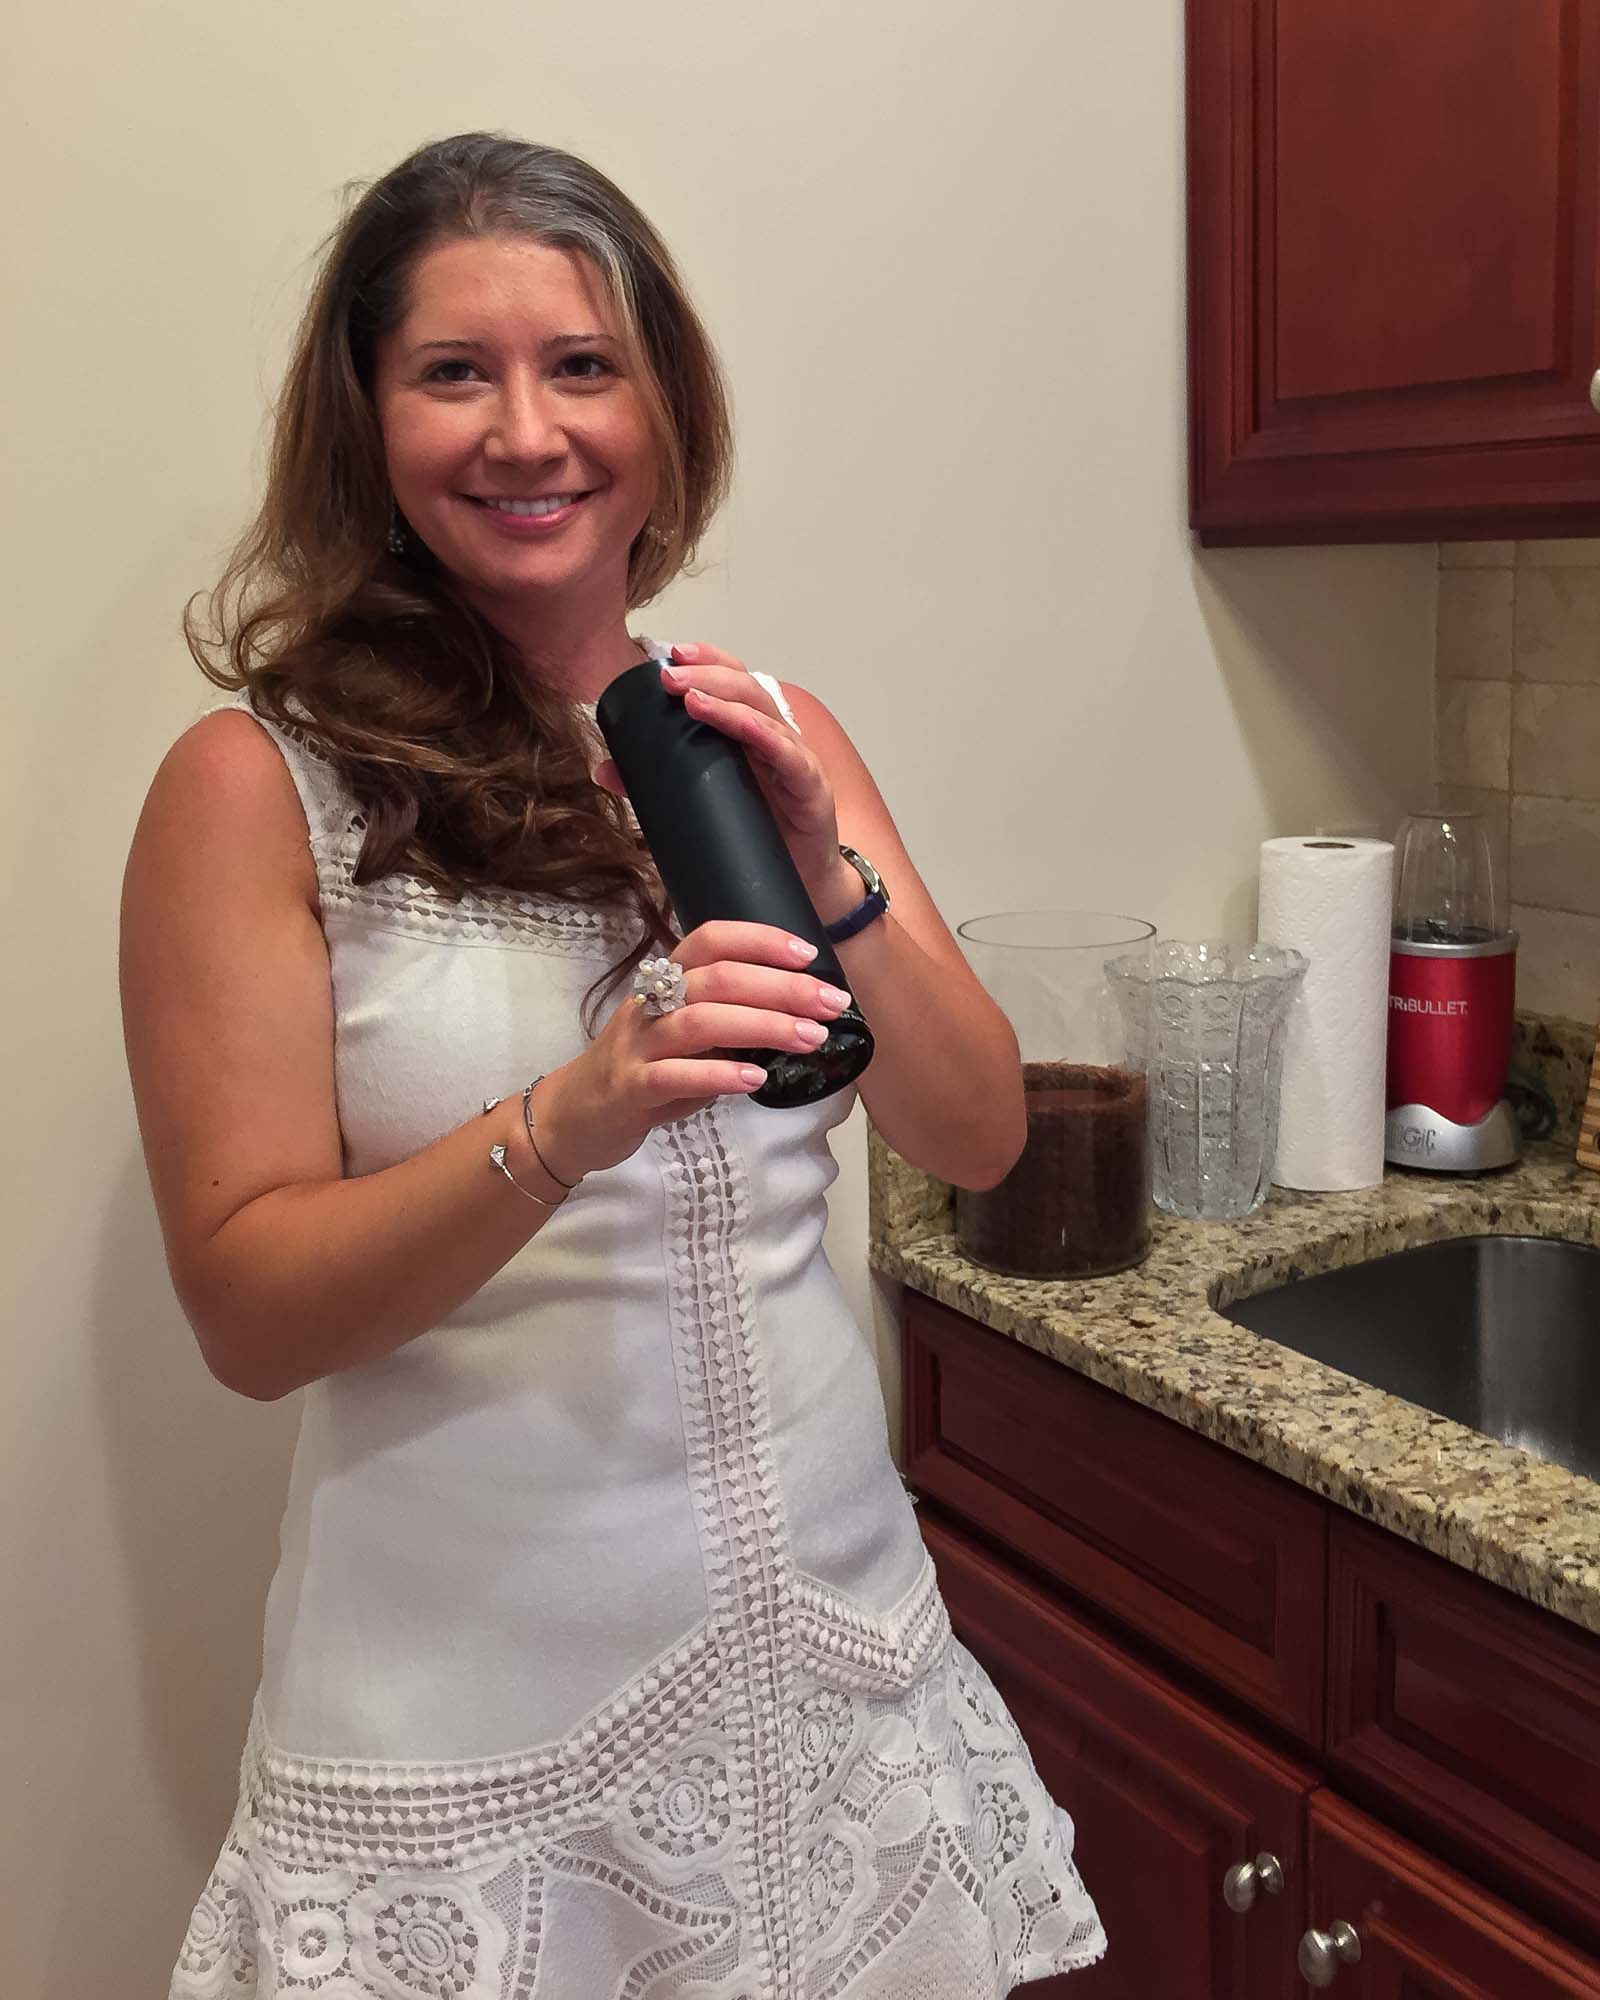
Polina’s first look through:
What it looks like (the view is infinite – this picture is constrained by the camera’s angle of view):
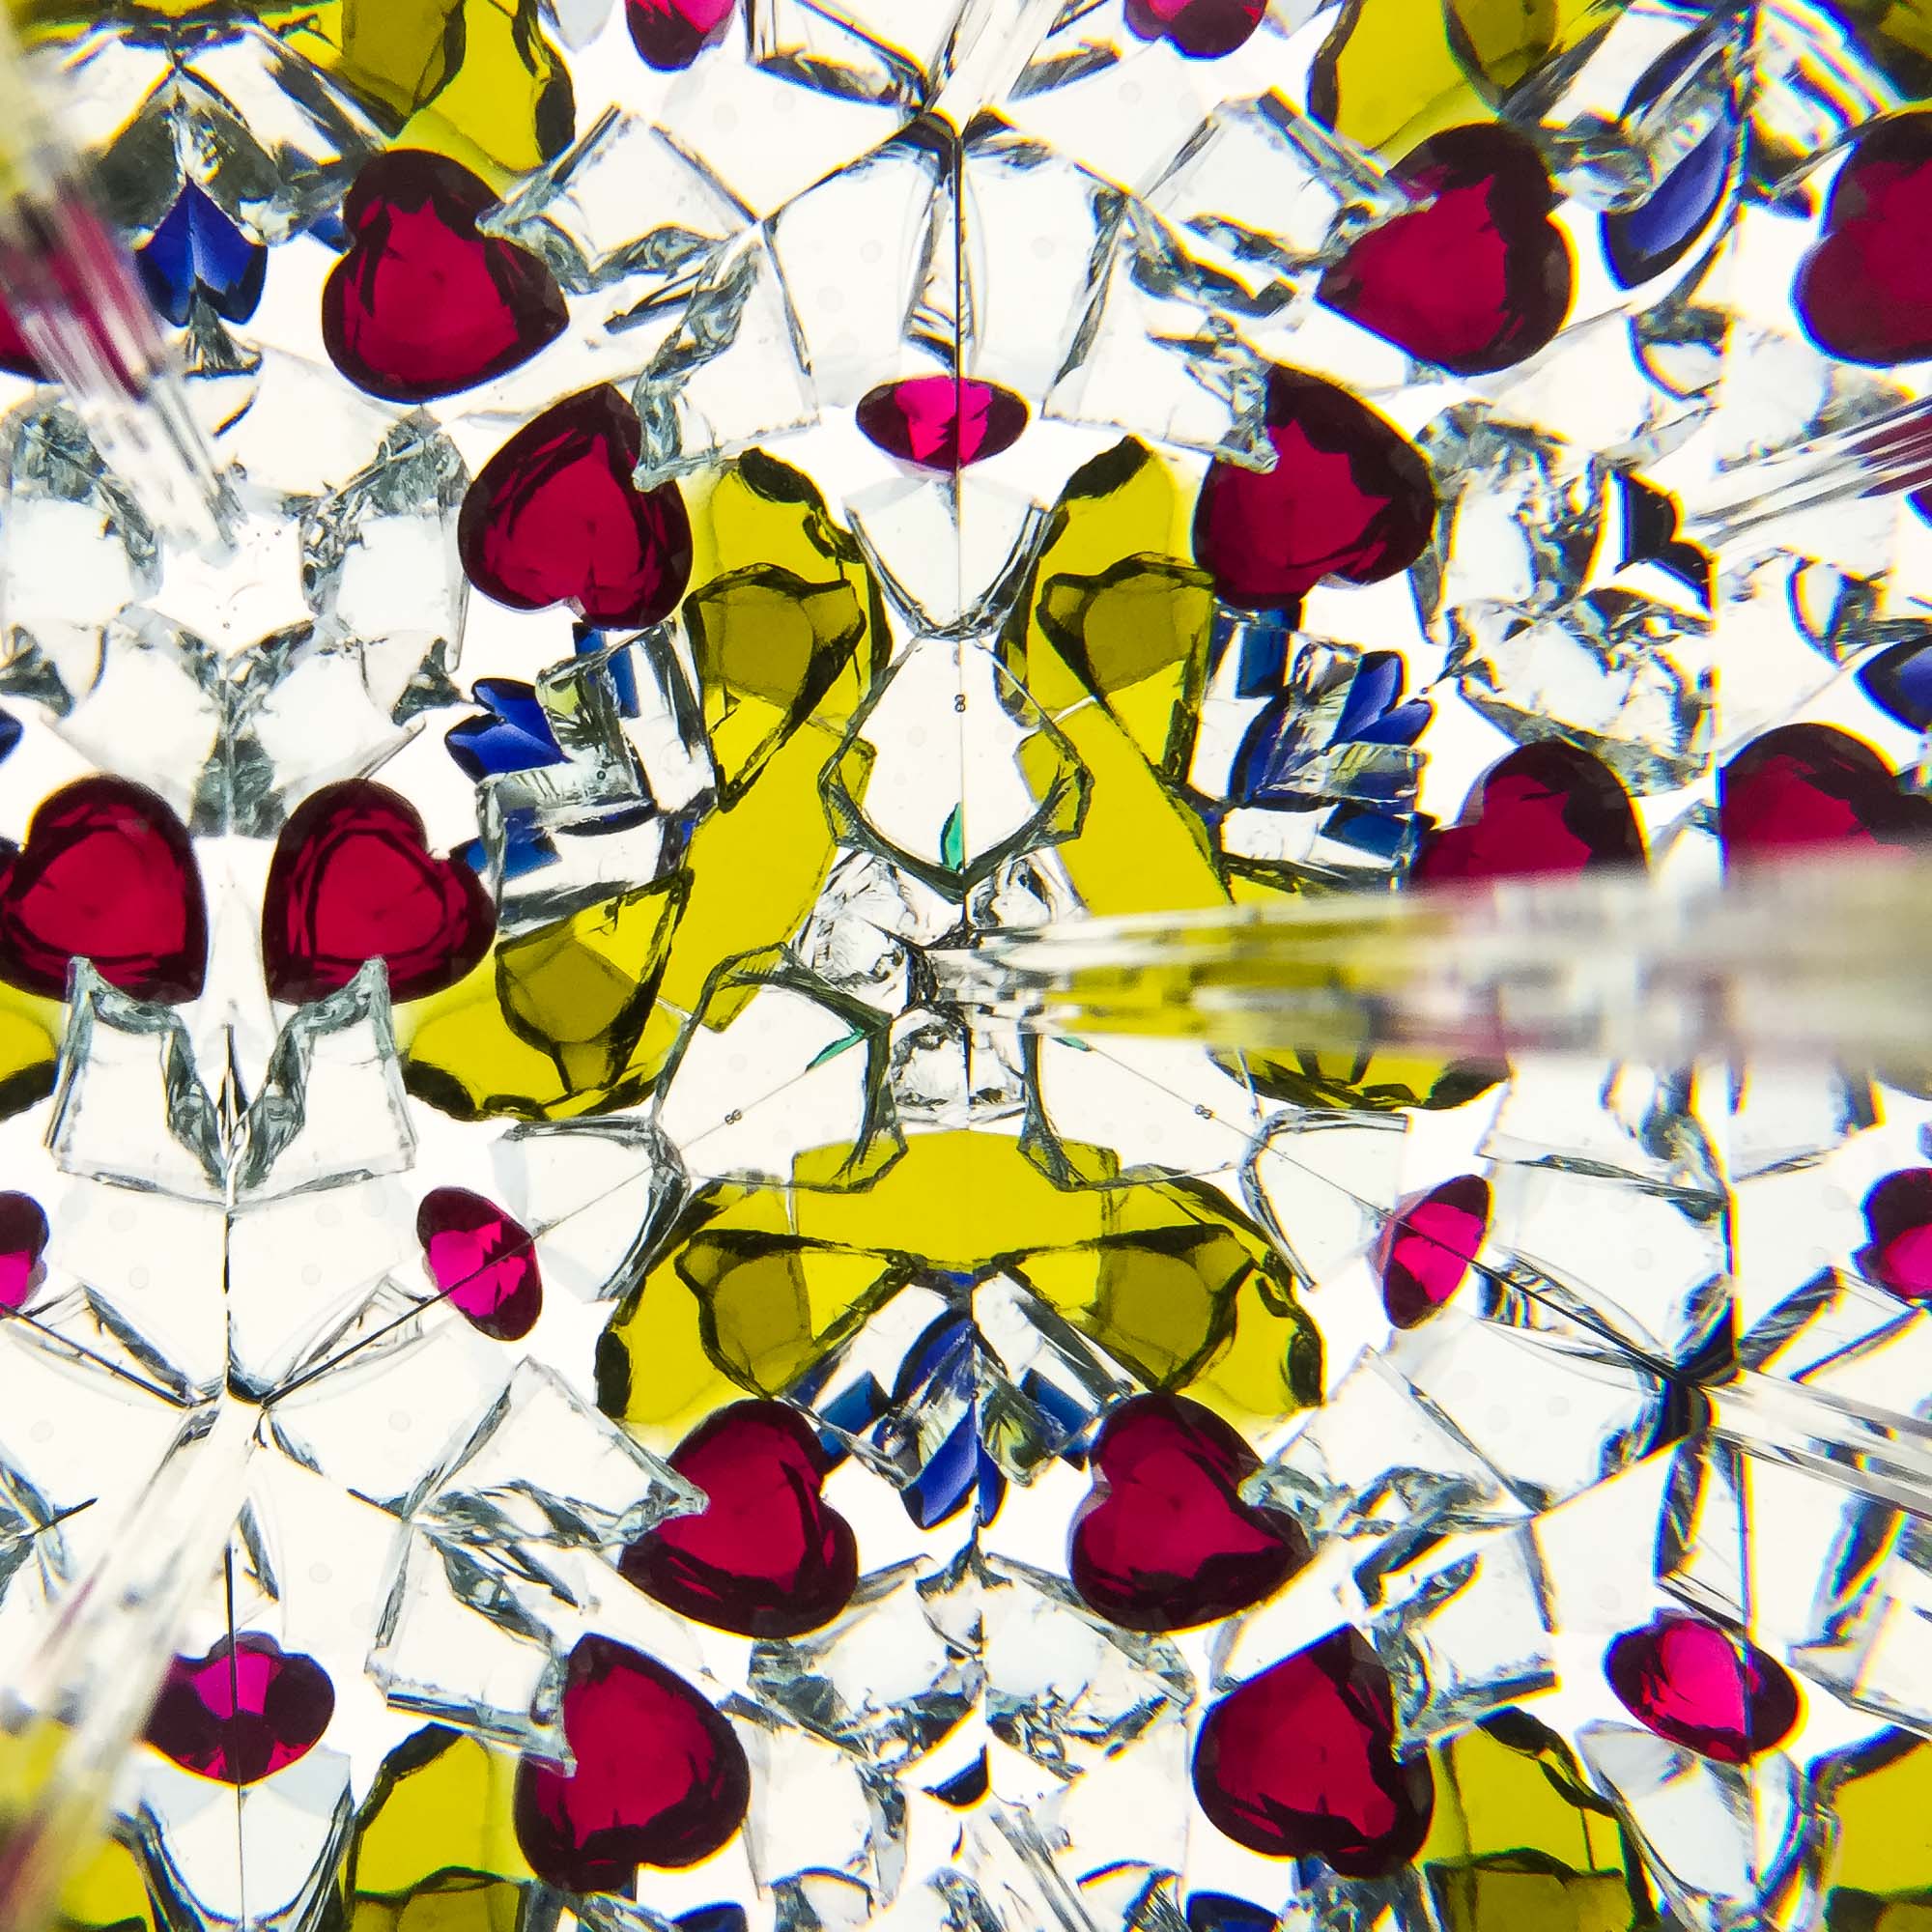
Due to the prism having rounded corners for safe handling, you can see the three transluscent pillars raising from the view. Otherwise, thanks to the fairly high grade prism surface, it is very difficult to tell the direct view from its reflections – which is one of the metrics of a decent `scope.
Lizard seems happy with her new toy. Happy Birthday, sister!
Here’s a very nice view Polina sent me:
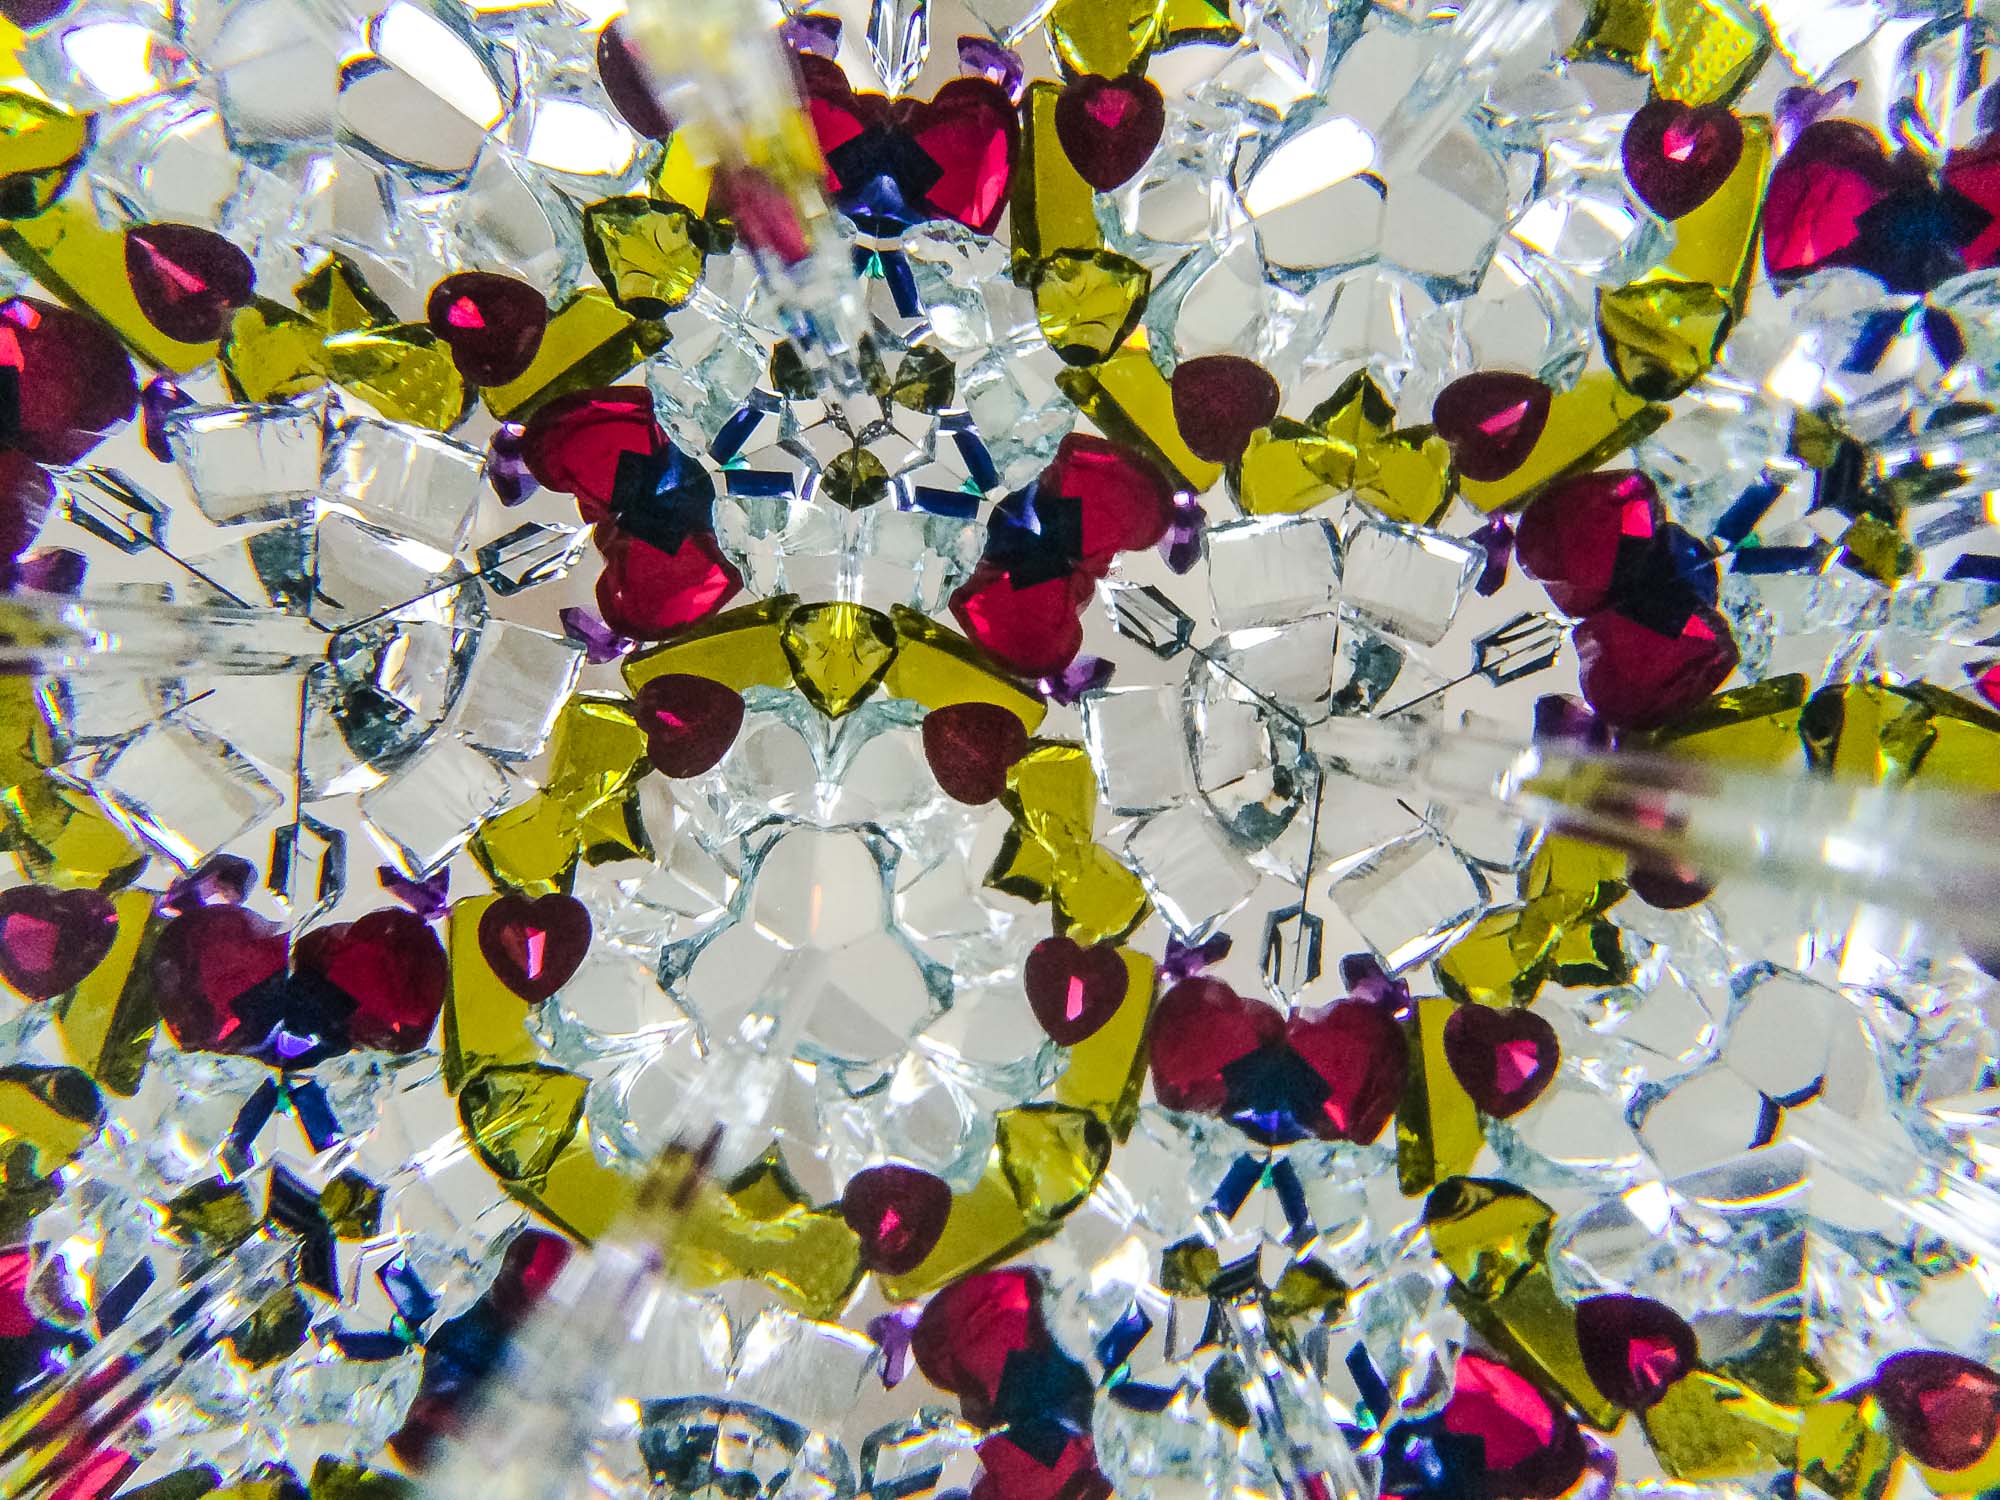
I like the interlocking red and yellow rings and blue triangles with emerald tips. A part of the charm is, you can now spin this kaleidoscope more times than there are atoms in the observable universe, and you’ll never get the same view again.
See this kaleidoscope in action: